WAXHISPANO
How To Add Your Token Logo To Alcor
Intro
Many of you have created your own WAX tokens, and you would like to add your token logo to Alcor Exchange. This requires using Github, which the average WAX user is unfamiliar with.
In this article, I will walk you through the process of submitting your token logo through Github. It might seem a bit confusing at first, but it’s really not that bad.
Logo Requirements
Before we get into the Github process, first lets talk about the logo requirements. The logo should be small (64px by 64px is ideal), with a transparent background, and in PNG format. Here is an example:

The “small” part is important — Alcor needs to load hundreds of these images on their UI when a user navigates to their website. The larger each image is, the longer it takes to load the page. So, if your image is too large, you risk having it rejected by them (although I have not seen them enforce this, but be aware of the risk).
Naming Convention
Before submitting your logo, there is a specific naming convention you need to follow. This is going to be made up of the token symbol and the token contract. All lowercase, with an underscore separating the token name and contract.
For example, let’s say that you had a token named WAXDAO. And let’s say that the contract address for that token was token.waxdao. The image would need to be saved as waxdao_token.waxdao.png
Submitting The Logo On Github
Now that you have your token image saved and named properly, you’ll need to create a Github account if you don’t have one already.
Next, you need to go to Alcor’s Github repository and create a fork of the repo. Take a look at the following image:
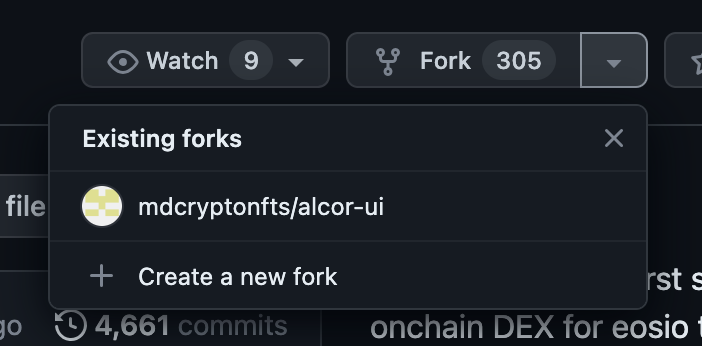
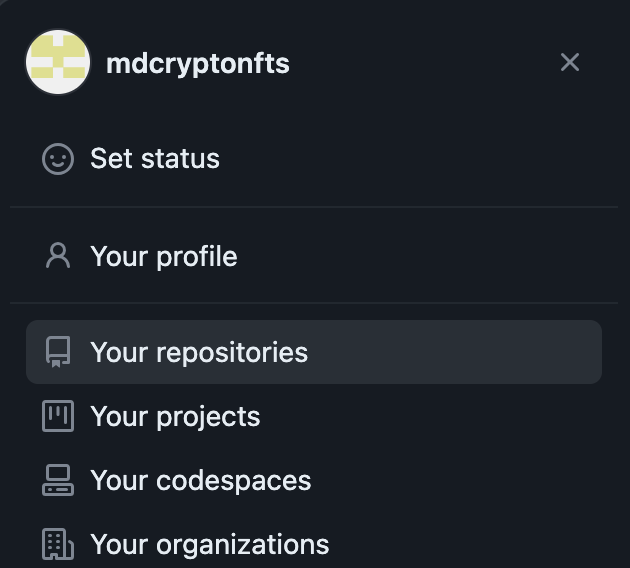
Once you have forked the repository, you’ll want to navigate to your fork. You can do this by going to “Your Repositories” under your account info…
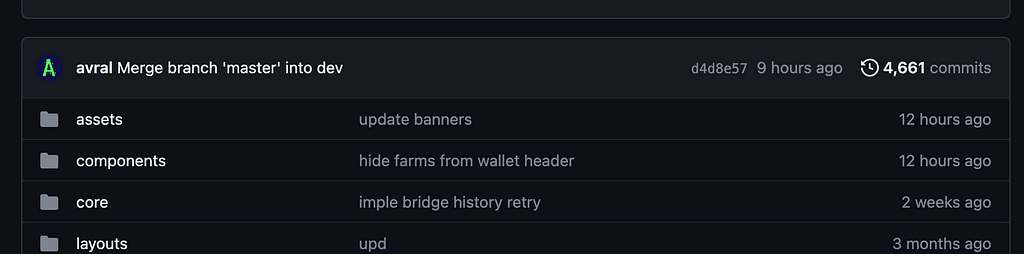
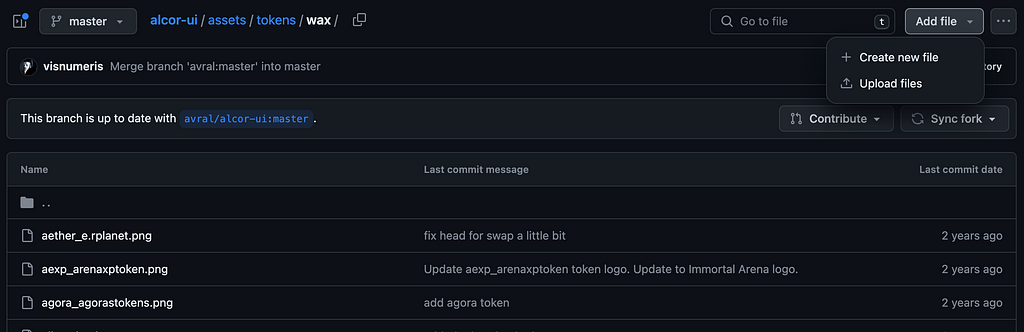
Once you get into your repository, click on the “Assets” folder.
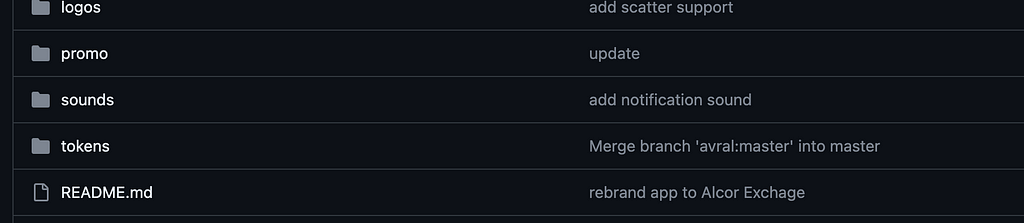
Next, click on the “Tokens” folder.
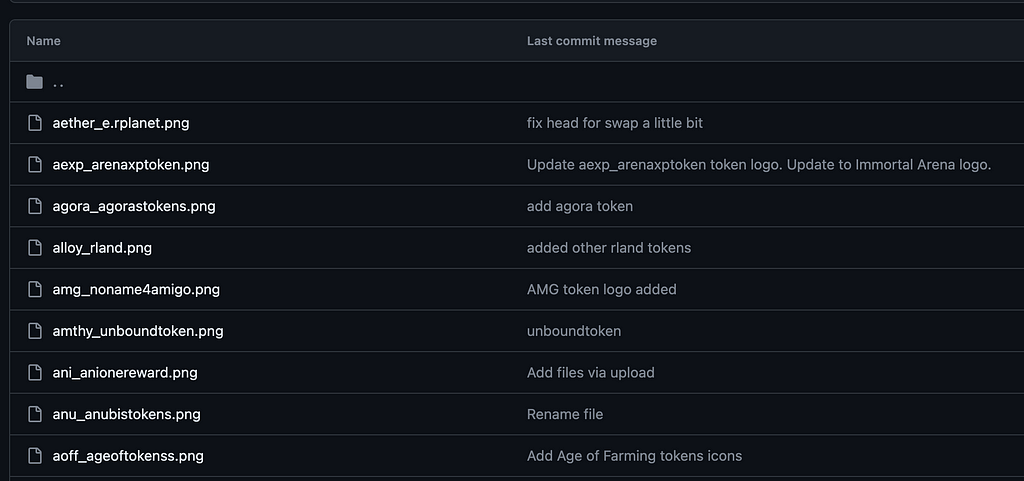
Finally, click on the “Wax” folder, and you should see a list of tokens like this:
At this point, it’s time to upload your token logo into the folder. You can do this by clicking “Add File” and then “Upload Files” at the top of the screen.
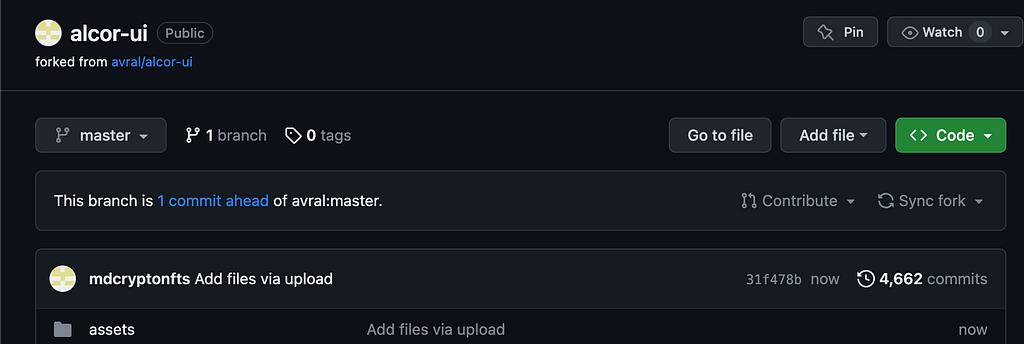
Now your token is in the folder, but you are not done yet! All you’ve done is create your own repository and add a token to it. This has nothing to do with Alcor (yet)… so you still need to give this new repository to Alcor. How do you do that? Easy.
You should now see a message in your repository that says something like “This branch is 1 commit ahead of avral:master”
Click on the part that says “1 commit ahead”. You should see a button to “Create Pull Request”.
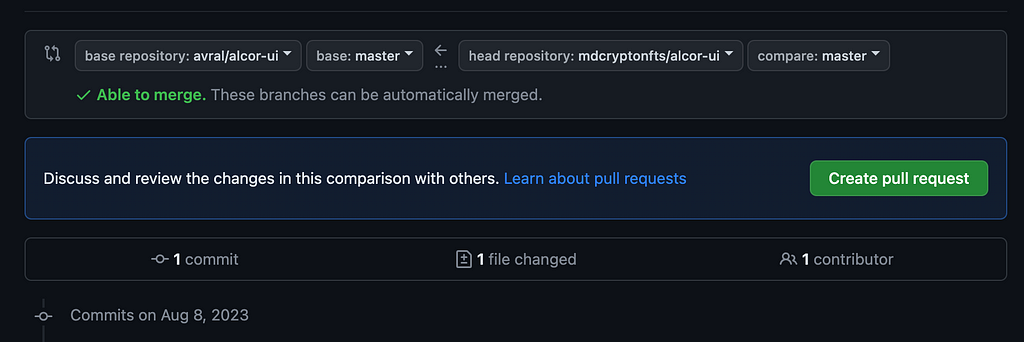
Click that button. It will bring you to a form that looks like this:
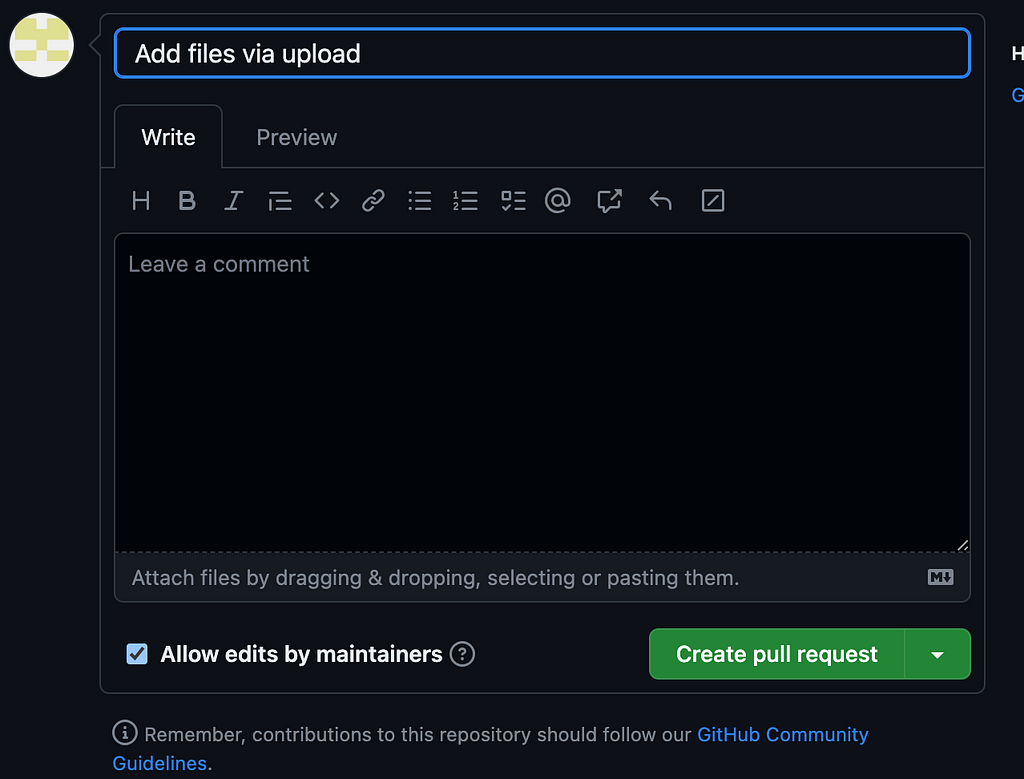
Leave a brief description about what you changed. Something like “Added logo for mytoken_mycontract.png” (replace with the actual name).
Then click the “Create pull request” button. Once you do that, you have given the info to Alcor — but they still need to approve the pull request. Your token will not appear on their website until they do this. So have a bit of patience.
If you would like to attempt to speed up the process (no guarantees), you can go to the Alcor Telegram group and let them know that you have submitted a pull request.
That’s it! By the way, if you would also like to have your token listed on WaxDAO’s token tracker, please feel free to submit a listing request with your token information.