WAXHISPANO
Create Games On WAX Using Unity, Part 9 — Ending The Game
Create Games On WAX Using Unity, Part 9 — Ending The Game
03/11/2024
Hello and welcome to part 9 of my tutorial series for creating games on WAX Blockchain, using Unity. Parts 1–8 can be found at blog.waxdao.io
In the previous article, we defined a winningScore for the game, and revealed a higher percentage of an image as the user’s score increased. However, we never actually “ended the game”. That is what we are going to cover in this article.
The Plan
As far as ending the game is concerned, here is what I plan to do:
- Stop the ball from moving
- Flash a message showing that the user won
- Give the user an option to play again, and an option to log out (which will not only log them out, but bring them back to the initial scene where they can log back in if they want)
Ending The Game When winningScore Is Reached
Let’s go ahead and open up our GameManager script. Add the following line at the top, right under where we define the GameOver variable.
public bool GameWon { get; private set; }We will use this variable to determine if the game has been won, and execute other logic based on whether the user has won or not.
When a game is first started, we want to make sure this is set to false. So, let’s edit the StartGame function:
public void StartGame()
{
    GameStarted = true;
    GameOver = false;
    GameWon = false;
    Score = 0;
    imageToReveal.fillAmount = 0;

    BallController ballController = FindObjectOfType();
    if (ballController != null)
    {
        ballController.StartBallMovement();
    }
}
Notice how we have added a line to make sure GameWon is false when the game starts.
Next, let’s make sure that when we add a point to the user’s score, we check if the new score is equal to the winningScore. If it is, we should end the game. To do that, all we need to do is make a small modification to the AddScore function.
public void AddScore(int points)
{
    if (GameStarted && !GameOver)
    {
        Score += points;
        float revealAmount = (float)Score / winningScore;
        imageToReveal.fillAmount = revealAmount;

        if(Score >= winningScore){
            GameWon = true;
            EndGame();
        }
    }
}
You’ll notice a couple of things here. Firstly, I removed a Debug.Log that we had in the function from earlier in the tutorial, because it isn’t really necessary now that we have the score being displayed on the screen. But you can feel free to leave yours in there if you want.
Second, we checked if the current score is >= the winningScore, and if so, we end the game.
Side note: you may be wondering why I chose >= instead of ==. Since technically, the score should never be > the winning score. This is just personal preference mixed with a bit of paranoia. I worry that somehow the code will miss an update, and then need to fix itself after. It’s probably pointless and unnecessary, but I figure it’s always better to be safe than sorry.
Testing Our Script
Before we move forward, let’s do a quick test run. I’ve temporarily set the winningScore to 5, because it will probably take me all day to score 50 points lol.
https://medium.com/media/ad1f7057745881dd9d6e9dea1df0acdb/hrefExcellent, it works. Next, we need to actually let the user know that they won.
Adding A Modal
The plan is to have a modal pop up when the game is over, with a couple of buttons on it and a message telling the user that they won.
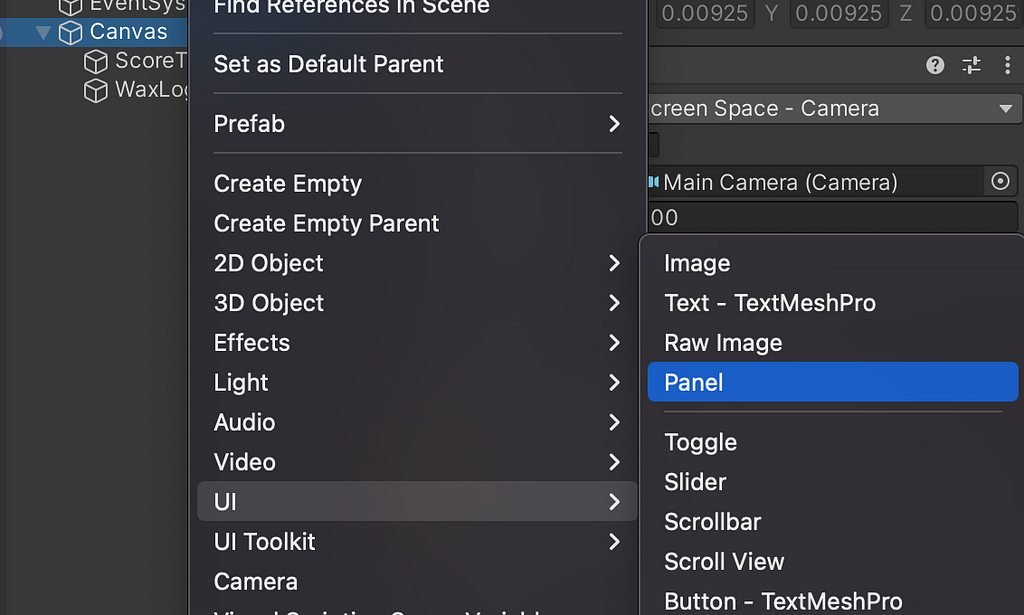
So first, let’s create a new panel which will serve as our modal. Right click on the Canvas we created previously, then select UI > Panel.
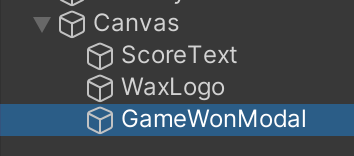
I am going to rename my Panel to GameWonModal, just to keep things clear and organized.
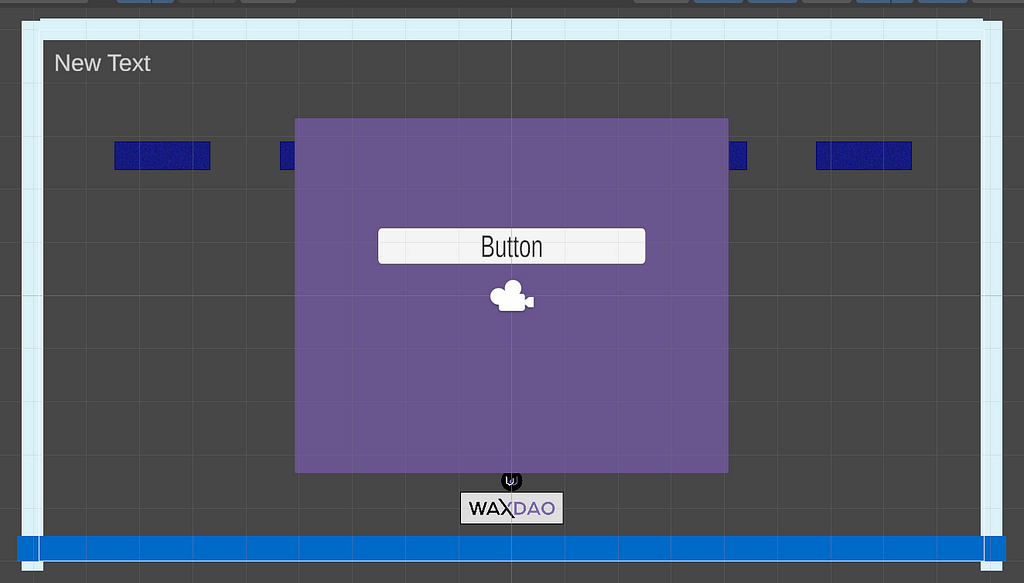
Next, I’ll resize the modal so it’s not taking up the entire camera view.

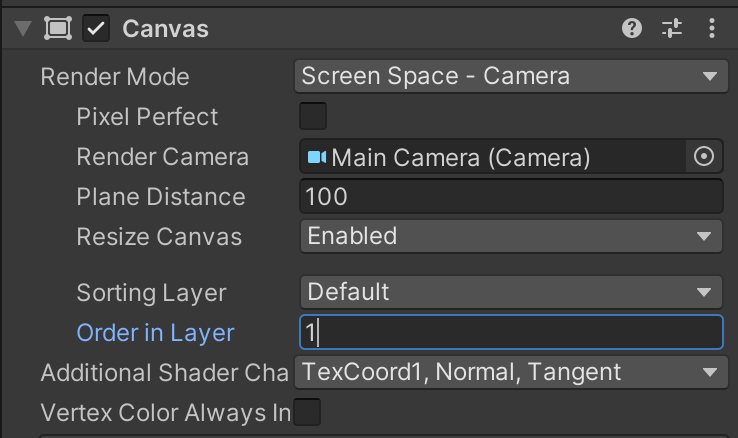
You’ll notice that the bricks are above the modal, which is not what we want. We can fix this by selecting the Canvas in the Hierarchy panel, then setting the Order In Layer to 1 in the Inspector.
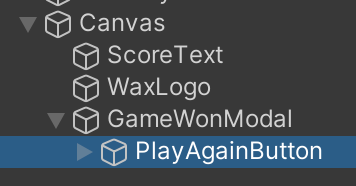
Next, let’s add a Button — TextMeshPro object as a child of our GameWonModal panel. Right click on GameWonModal, and select UI > Button — TextMeshPro. Rename the button to PlayAgainButton.
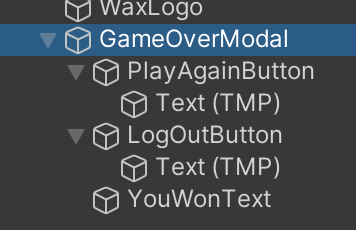
Your Canvas hierarchy should look like this now:
You’ll want to adjust the size/scale of your button, and position it wherever you think looks good. Here’s what mine looks like:
We need another button to log the user out, so now let’s duplicate this button by pressing CTRL+D or CMD+D while you have the PlayAgainButton selected in the Hierarchy panel. Move this to where you need it, and you should end up with something like this:
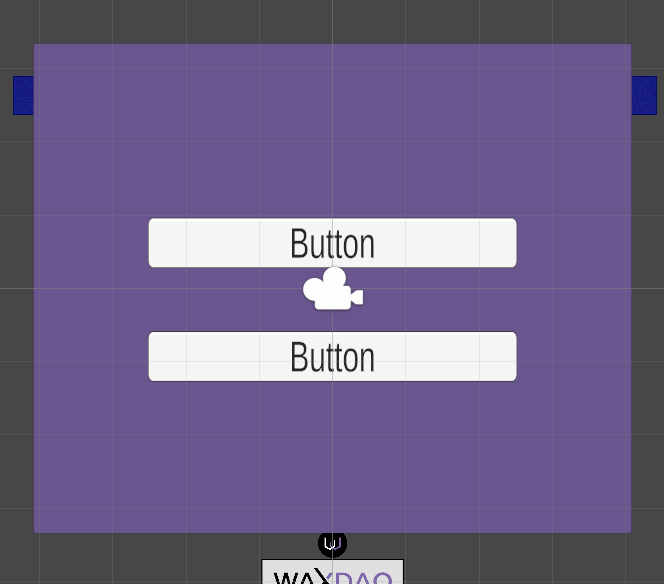
Also, don’t forget to rename your other button so you know which is which. I named the 2nd button LogOutButton.
By the way, this giant camera icon is the most annoying thing I’ve ever seen, so I’m going to hide it — you can choose not to if you like being able to see it. We can hide it by clicking the Gizmo icon that I showed you in the previous article.
Then, click the camera icon next to Camera in the dropdown.
Finally, let’s add a message that says “You Won!” to the panel. Right click on GameWonModal, and select UI > Text — TextMeshPro. Rename the new object to YouWonText.
After playing around with the styling/position/size of the text object, I ended up with this:
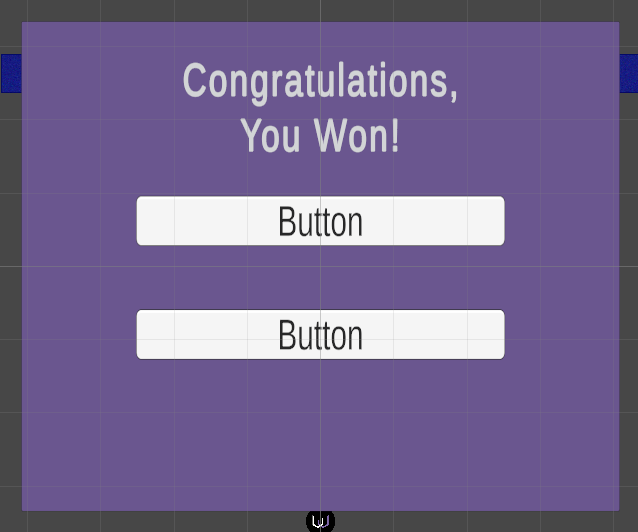
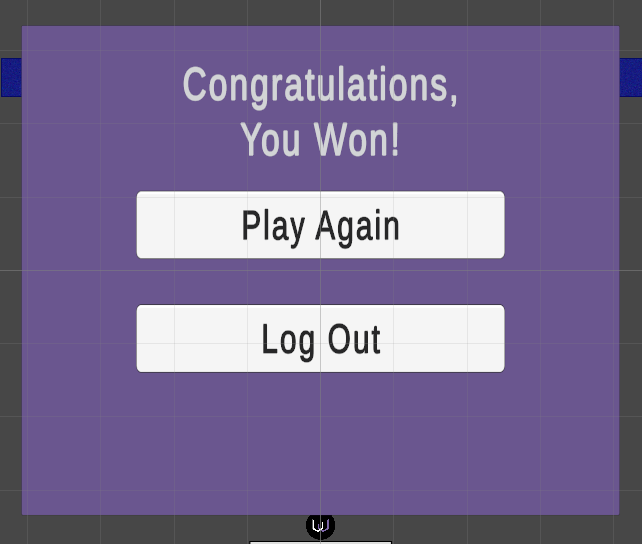
Before we worry about adding logic, we should probably also change the text on the buttons. Here’s what mine looks like after doing this.
I’m An Idiot
As I’m making this, I’m coming to a realization — even if a user loses the game, they should really see this same modal. The only difference is, it should tell them that they lost instead.
This is okay, we actually don’t really need to make any changes to what we’ve done so far. But as we go forward, keep in mind that that the new plan will be to show this modal when they lose as well.
Adding Logic
Ok, now it’s time to add the logic to our modal. But given this new direction, it seems like it might be a good idea to rename the GameWonModal to GameOverModal. So that’s what I did.
Now let’s add a new script to our GameOverModal. Name the script GameOverModalController. Open up that script in your text editor, and let’s start adding our logic.
I want this script to handle the following things:
- Only show the modal if GameOver is true
- Show different text, depending on whether GameWon is true or false.
- When clicking the Play Again button, close the modal and wait for the user to press Space before the ball starts moving
- When clicking the Log Out button, log the user out of their WAX wallet, and then switch scenes to go back to the LoginScene
Here is the first iteration of the script (we will expand on this later):
using System.Collections;
using System.Collections.Generic;
using UnityEngine;
using TMPro;

public class GameOverModalController : MonoBehaviour
{
    private CanvasGroup canvasGroup;
    private TextMeshProUGUI youWonText;

    void Start()
    {
        canvasGroup = GetComponent();
        youWonText = transform.Find("YouWonText").GetComponent();

        if (canvasGroup == null)
        {
            Debug.LogError("CanvasGroup component not found on GameOverModalController GameObject.");
            return;
        }

        if (youWonText == null)
        {
            Debug.LogError("TextMeshProUGUI component not found on GameOverModalController GameObject.");
            return;
        }

        SetPanelVisibility(false);
    }

    void Update()
    {
        if (GameManager.Instance.GameOver && !GameManager.Instance.ReadyToPlay)
        {
            if (GameManager.Instance.GameWon)
            {
                youWonText.text = "Congratulations, you won!";
            }
            else
            {
                youWonText.text = "Sorry, you lost!";
            }

            SetPanelVisibility(true);

        }
        else
        {
            SetPanelVisibility(false);
        }
    }

    private void SetPanelVisibility(bool visible)
    {
        canvasGroup.alpha = visible ? 1f : 0f;
        canvasGroup.blocksRaycasts = visible;
        canvasGroup.interactable = visible;
    }

    public void OnPlayAgainClicked()
    {
        SetPanelVisibility(false);
        GameManager.Instance.PrepareForNewGame();
    }

}
Let’s discuss what we did here.
private CanvasGroup canvasGroup;
private TextMeshProUGUI youWonText;
In the 2 lines above, we are just creating empty containers. Later, we will assign UI elements to these containers, and modify them based on what is taking place in the game.
void Start()
    {
        canvasGroup = GetComponent();
        youWonText = transform.Find("YouWonText").GetComponent();

        if (canvasGroup == null)
        {
            Debug.LogError("CanvasGroup component not found on GameOverModalController GameObject.");
            return;
        }

        if (youWonText == null)
        {
            Debug.LogError("TextMeshProUGUI component not found on GameOverModalController GameObject.");
            return;
        }

        SetPanelVisibility(false);
    }
In the Start function, we assign UI elements to our previously empty containers. Then we make sure that they aren’t null, and log an error in the console if they are.
Finally, we set the visibility of the GameOverModal to false, so that it is initially hidden.
void Update()
    {
        if (GameManager.Instance.GameOver && !GameManager.Instance.ReadyToPlay)
        {
            if (GameManager.Instance.GameWon)
            {
                youWonText.text = "Congratulations, you won!";
            }
            else
            {
                youWonText.text = "Sorry, you lost!";
            }

            SetPanelVisibility(true);

        }
        else
        {
            SetPanelVisibility(false);
        }
    }
In our Update function, we check if the game is over. If so, we dynamically show a message depending on whether the user won or lost. Also, we either hide or show the GameOverModal depending on whether the game is over or not.
You may notice a new ReadyToPlay variable above — I will explain that shortly (we need to edit our GameManager script in a minute to support it).
private void SetPanelVisibility(bool visible)
    {
        canvasGroup.alpha = visible ? 1f : 0f;
        canvasGroup.blocksRaycasts = visible;
        canvasGroup.interactable = visible;
    }

public void OnPlayAgainClicked()
{
    SetPanelVisibility(false);
    GameManager.Instance.PrepareForNewGame();
}
Here, we just define 2 functions. SetPanelVisibility does the following:
- Set the alpha channel of the GameOverModalto 0f (this makes it invisible)
- Set blocksRaycasts to true or false depending on whether the modal is visible or not. This is so buttons inside the modal can not be clicked, etc
- Set interactable to true or false, which has a similar effect as blocksRaycasts
OnPlayAgainClicked is a function that we will attach to our “Play Again” button in a second. It calls the SetPanelVisibility function, and calls a function that we need to define in our GameManager script. So, let’s do that now…
Save this script, then open up your GameManager script. Replace it with the following code:
using UnityEngine;
using UnityEngine.UI;

public class GameManager : MonoBehaviour
{
    public static GameManager Instance { get; private set; }

    public bool GameStarted { get; private set; }
    public bool GameOver { get; private set; }
    public bool GameWon { get; private set; }
    public bool ReadyToPlay { get; private set; }
    public int Score { get; private set; }
    public Image imageToReveal;
    int winningScore = 5;

    void Awake()
    {
        if (Instance == null)
        {
            Instance = this;
        }
        else
        {
            Destroy(gameObject);
        }
    }

    public void PrepareForNewGame()
    {
        ReadyToPlay = true;
    }

    public void StartGame()
    {
        if (GameOver && !ReadyToPlay) return;
        GameStarted = true;
        GameOver = false;
        GameWon = false;
        Score = 0;
        imageToReveal.fillAmount = 0;
        ReadyToPlay = false;

        BallController ballController = FindObjectOfType();
        if (ballController != null)
        {
            ballController.StartBallMovement();
        }
    }

    public void EndGame()
    {
        GameOver = true;
        GameStarted = false;

        PaddleController paddleController = FindObjectOfType();
        if (paddleController != null)
        {
            paddleController.ResetPosition();
        }

        BallController ballController = FindObjectOfType();
        if (ballController != null)
        {
            ballController.ResetPosition();
        }
    }

    public void AddScore(int points)
    {
        if (GameStarted && !GameOver)
        {
            Score += points;
            float revealAmount = (float)Score / winningScore;
            imageToReveal.fillAmount = revealAmount;

            if(Score >= winningScore){
                GameWon = true;
                EndGame();
            }
        }
    }
}
You will notice a few new changes here.
First, we’ve added a new bool called ReadyToPlay. Inside the Start function, you’ll see that we now set that to false after starting the game.
Also, we check to see if 2 conditions are met inside the Start function now:
- If the game is over
- If the user is ready to play
If the first condition is true (meaning the game ended), and the second condition is false (meaning the user has not clicked the “Play Again” button), then the user will not be able to start a new game.
Additionally, we have added a PrepareForNewGame function, which sets ReadyToPlay = true. We need to attach this to our “Play Again” button, so that when the user clicks “Play Again”, the modal is hidden, and they will be able to start a new game when they click the space bar.
Save this script, and let’s go ahead and do that.
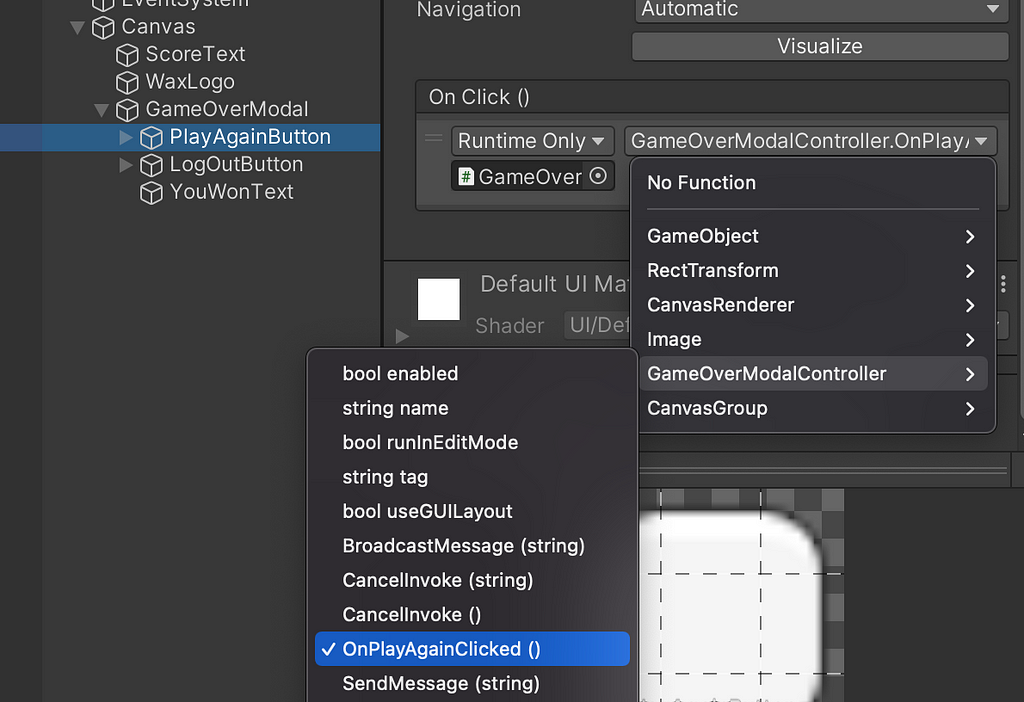
Back in the Unity editor, select the PlayAgainButton in the Hierarchy panel. From there, you need to add a new OnClick event in the Inspector. Drag your GameOverModal object directly onto the empty field under the OnClick event, and then choose the OnPlayAgainClicked function from the dropdown menu.
Testing The Game
At this point we should be ready to test. I am going to lose on purpose to make sure it shows the correct message. Then I will test the PlayAgainButton to make sure it hides the modal and lets me play another game. Finally, I will win a game and make sure it shows the correct message. Let’s go…
https://medium.com/media/1f0608db865537a3d587a30fadb0231a/hrefClosing Thoughts
As you can see, everything is working as intended. We still have not added logic to log the user out and return them to the first scene if they click the LogOutButton.
That is what we will do in the next article. And from there, we can start getting into more WAX Blockchain related stuff, like allowing the user to browse the market for NFTs within the game… applying properties to game objects based on NFT attributes in the user’s wallet, etc.
If you have any questions, join my Telegram or Discord. See you next time for part 10!
Create Games On WAX Using Unity, Part 9 — Ending The Game was originally published in waxdao on Medium, where people are continuing the conversation by highlighting and responding to this story.