WAXHISPANO
Create Games On WAX Using Unity, Part 8 — Revealing An Image As The Score Goes Up

Create Games On WAX Using Unity, Part 8 — Revealing An Image As The Score Goes Up
02/28/2024
Hello and welcome to part 8 of my tutorial for building games on WAX Blockchain, using Unity. Parts 1–7 can be found at blog.waxdao.io.
Intro
In the previous article, we added some bricks into our game scene, and learned how to show the user’s score on the screen while they are playing.
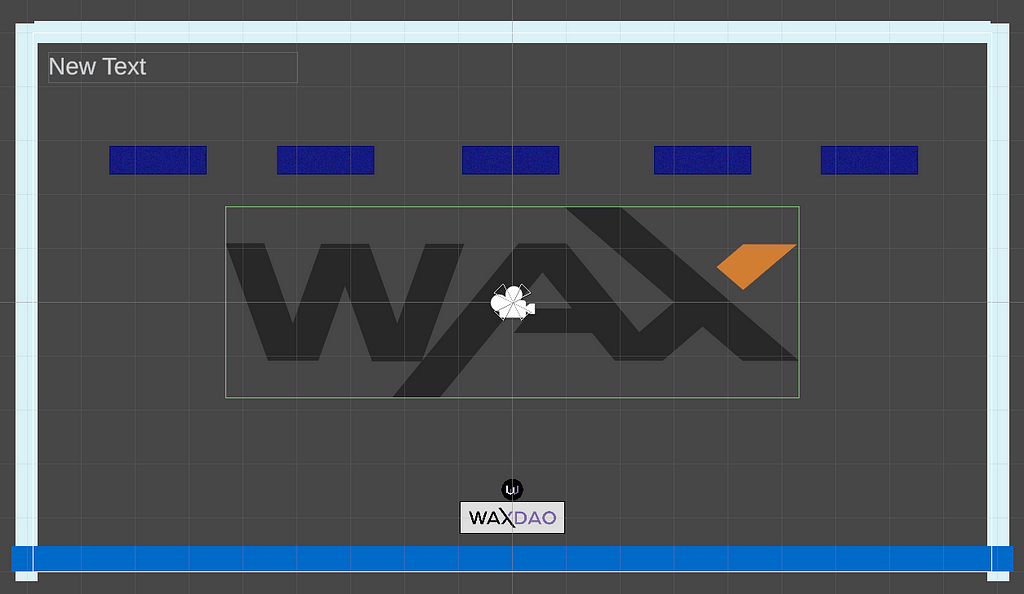
In this article, we will learn how to fill in parts of an image as the user’s score increases. When the full image is shown, they win the game.
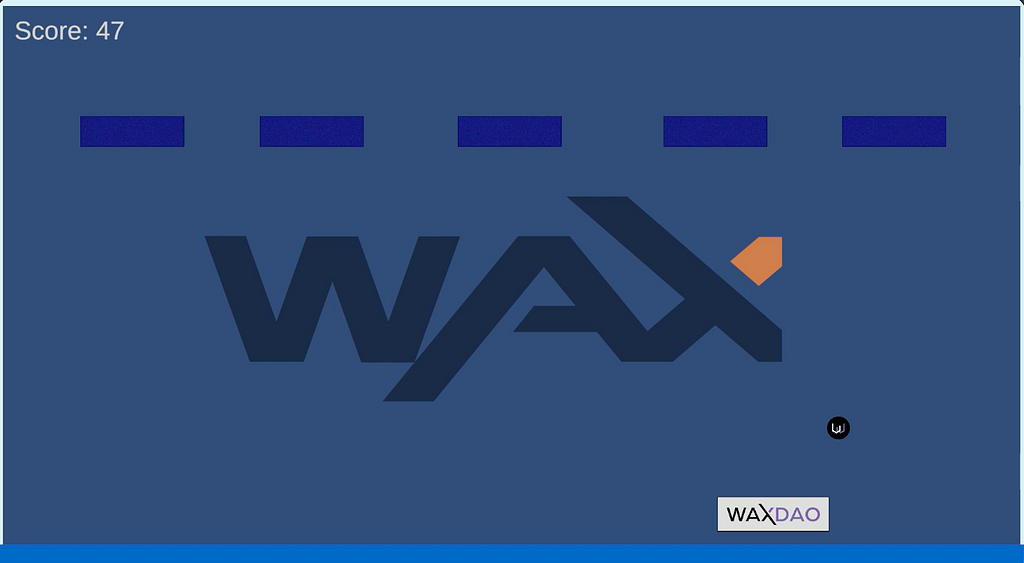
The image above is an example of what it looks like when the user has almost won the game. In this example, I have the winningScore set to 50. The user has 47 points, which means 94% of the image is filled in — and they are 3 points away from winning.
Importing The Image
To get started, we need to import our image into the project. For me, I just googled “WAX logo png” and downloaded a WAX logo with a transparent background. But you can use any image you like, it doesn’t need to be the WAX logo.
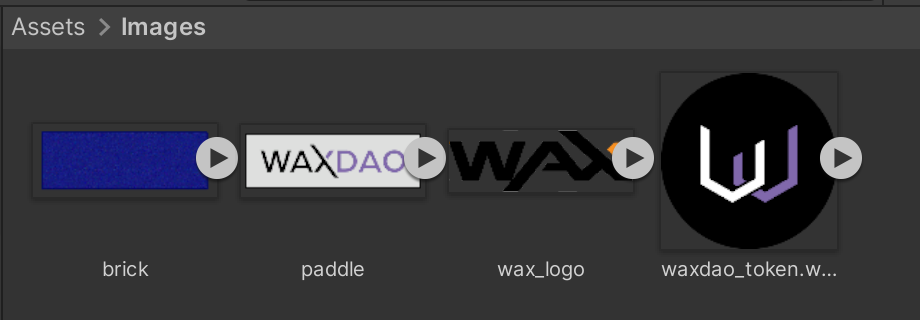
Go to Project > Assets > Images and click Import New Asset. Find your image and add it to the folder.
Creating The Game Object
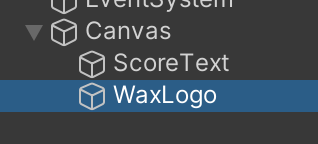
Next, go over to your Hierarchy panel. You should see a Canvas that we created earlier (it has our ScoreText object as a child).
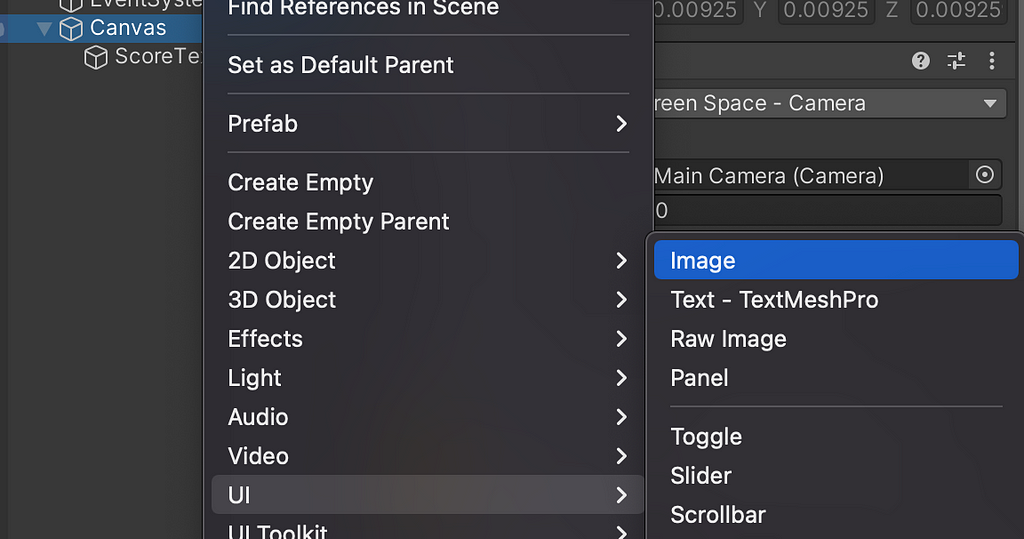
Right click on Canvas, select UI > Image.
Since I used the WAX logo, I am renaming my image to WaxLogo. If you used a different image, you may choose to name yours differently.
Next, you have to assign the actual image to your new object. With your Image object selected, drag your source image from the Images folder onto the Source Image box in the Inspector panel.
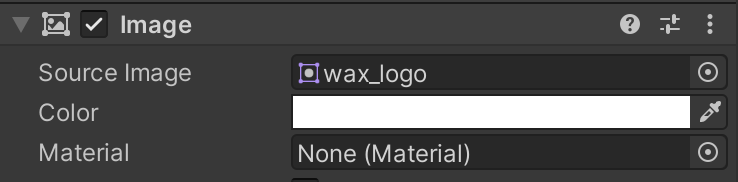
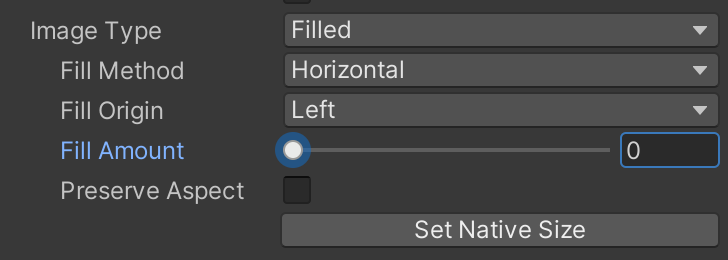
You may notice that your image is now skewed and looks weird. If that’s the case, you can fix it by clicking the Set Native Size button in the Inspector panel. While you are at it, you’ll also want to change the Image Type to Filled.
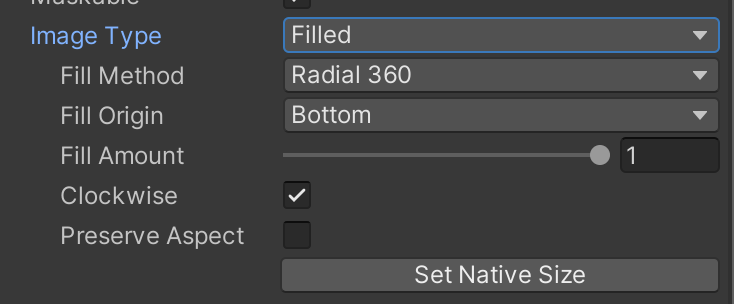
Styling The Reveal Method
If you look at the image above, you will notice 3 settings:
- Fill Method
- Fill Origin
- Fill Amount
First, go ahead and drag the Fill Amount slider back and forth. Watch what happens to your image as you do that.
This should give you an idea of what the other 2 settings do (Fill Method and Fill Origin).
Feel free to play around with these settings and decide which one you think will look best for revealing the image to the user as their score goes up.
Personally, I chose Horizontal as the Fill Method, and Left as the Fill Origin. This means that the image will reveal itself from left to right as the score increases.
Final Touches To The Image
Before we move forward, let’s add some finishing touches to our image.
We don’t want it to be too opaque (visible), because it might be hard to see our ball while we’re playing the game. So, let’s turn down the opacity a bit. You can adjust the A value in the image’s color settings like this:

As you can see, I’ve lowered mine from 255 to 170.
Also, my image was gigantic compared to the camera view. So I scaled it down to fit in the center. After the opacity and size adjustments, here’s what it looks like:
Scripting Our Image
Now we need to actually add the logic for revealing our image as the score goes up.
Open up your GameManager script, and replace the existing code with the following:
using UnityEngine;
using UnityEngine.UI;

public class GameManager : MonoBehaviour
{
    public static GameManager Instance { get; private set; }

    public bool GameStarted { get; private set; }
    public bool GameOver { get; private set; }
    public int Score { get; private set; }
    public Image imageToReveal;
    int winningScore = 50;

    void Awake()
    {
        if (Instance == null)
        {
            Instance = this;
        }
        else
        {
            Destroy(gameObject);
        }
    }

    public void StartGame()
    {
        GameStarted = true;
        GameOver = false;
        Score = 0;
        imageToReveal.fillAmount = 0;

        BallController ballController = FindObjectOfType();
        if (ballController != null)
        {
            ballController.StartBallMovement();
        }
    }

    public void EndGame()
    {
        GameOver = true;
        GameStarted = false;

        PaddleController paddleController = FindObjectOfType();
        if (paddleController != null)
        {
            paddleController.ResetPosition();
        }

        BallController ballController = FindObjectOfType();
        if (ballController != null)
        {
            ballController.ResetPosition();
        }
    }

    public void AddScore(int points)
    {
        if (GameStarted && !GameOver)
        {
            Score += points;
            Debug.Log($"Current Score: {Score}");
            float revealAmount = (float)Score / winningScore;
            imageToReveal.fillAmount = revealAmount;
        }
    }
}
You’ll notice there are a few additions to the previous code. Let’s discuss them.
using UnityEngine.UI;
We need to make sure this line is included, because we will be modifying a UI element (the image). Without this using directive, the script will not work.
public Image imageToReveal;
int winningScore = 50;
The imageToReveal is something that we will need to assign in the Inspector panel, but we will get to that in a minute. winningScore is simply the score a user needs to get, in order to reveal the full image (and win the game).
public void StartGame()
    {
        GameStarted = true;
        GameOver = false;
        Score = 0;
        imageToReveal.fillAmount = 0;

        BallController ballController = FindObjectOfType();
        if (ballController != null)
        {
            ballController.StartBallMovement();
        }
    }
When a new game is started, the fillAmount of the image will be reset to 0.
Side note: after you are done testing — I recommend setting the fillAmount slider to 0 in the Inspector panel of your image. This way, when a user first enters the game, they won’t see the complete image.
public void AddScore(int points)
    {
        if (GameStarted && !GameOver)
        {
            Score += points;
            Debug.Log($"Current Score: {Score}");
            float revealAmount = (float)Score / winningScore;
            imageToReveal.fillAmount = revealAmount;
        }
    }
When we AddScore as the user gains points, we will calculate how much of the image to reveal. Then, we will apply that calculated value to the image.
Assigning The Image
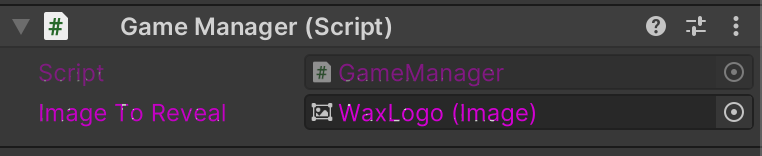
Save this script and head back to the Unity editor. With your GameManager object selected, take a look at the Inspector panel. You should see a field called Image To Reveal.
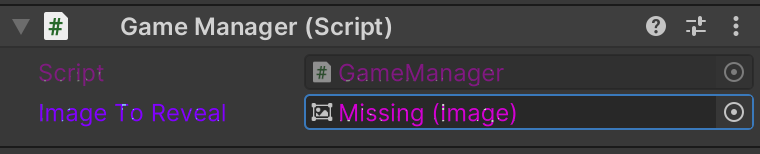
This is where you need to assign the image that you want to reveal. So go ahead and drag your Image object from the Hierarchy onto this field. It should look like this when you are done.
Now, let’s take this for a test drive and see if it works.
https://medium.com/media/11d9768b6bf90181f015c794529a6945/hrefEverything appears to be working as it should, although I did forget to adjust my Fill Amount slider to 0, so let me do that.
Now when I enter the game for the first time, the image won’t be shown until after I start scoring points.
What Next?
After the user gets the required amount of points to show the full image, we still haven’t really decided what to do.
I think for starters, stopping the ball from moving would be a good idea. Maybe we can also add some logic to our EndGame function to specify whether the user won or lost the game.
Flashing a “You Won!” message sounds good, with an option to play again, or log out.
So, I think that is what we will do in the next article. If you have any questions or feedback, please let me know in my Telegram or Discord channel.
Thanks for reading, and see you in part 9!
Create Games On WAX Using Unity, Part 8 — Revealing An Image As The Score Goes Up was originally published in waxdao on Medium, where people are continuing the conversation by highlighting and responding to this story.