WAXHISPANO
Create Games On WAX Using Unity, Part 7 — Displaying The User’s Score

Create Games On WAX Using Unity, Part 7 — Displaying The User’s Score
02/27/2024
Hello and welcome to part 7 of my tutorial for creating games on WAX Blockchain using the Unity SDK. Parts 1–6 can all be found at blog.waxdao.io
Intro
In this article, we are going to do the following:
- Add the bricks into our scene
- Add the logic that increases the user’s score every time the ball hits a brick
- Show the score to the user
Adding The Bricks
To add bricks into our scene, we could just create a new game object and use a Square if we want. However, I am going to create a simple png image in photoshop for this.
I am not an artist, so go ahead and laugh at my brick… all I did was make a blue rectangle and add some noise to it.
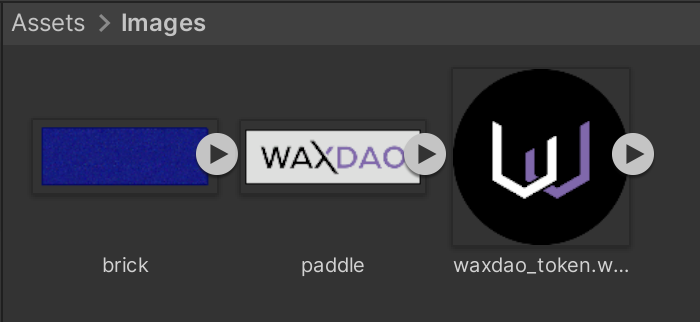
Next, I need to import this into my Unity project. So I will go to Project > Assets > Images and drag this brick into the folder.
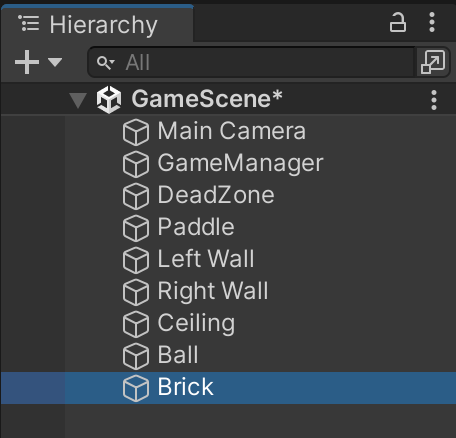
Now that the brick is added, we need to create a new game object out of it. Drag the brick from your Images folder onto your Hierarchy panel. I will also rename my new game object with a capital B.
Learning Exercise
I want to make sure you guys are learning how to do these things for yourselves, so this next part I want you to do on your own.
Remember in the previous article when we added a Tag to our DeadZone? I want you to add a tag to your Brick as well — name the tag Brick, and make sure you actually select it after you create the tag.
Once you have the new tag created, and you have applied that new tag to your Brick, it is time for the next step.
Adding A Box Collider
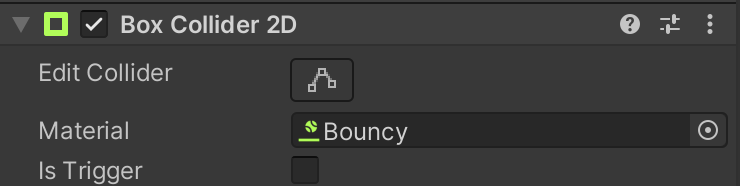
Since we want our ball to bounce off of the bricks, and to increase our score when we hit a brick, we need to add a Box Collider 2D to it, to make sure they have physics.
In the Inspector panel, click Add Component > Physics 2D > Box Collider 2D. Also, if you remember from the last article — we will run into problems with our ball slowing down as it hits the bricks. This is because they have friction, and no bounciness — so we need to assign that Bouncy material that we created last time.
Next, we need to make sure that our Box Collider actually aligns with the edges of our brick.
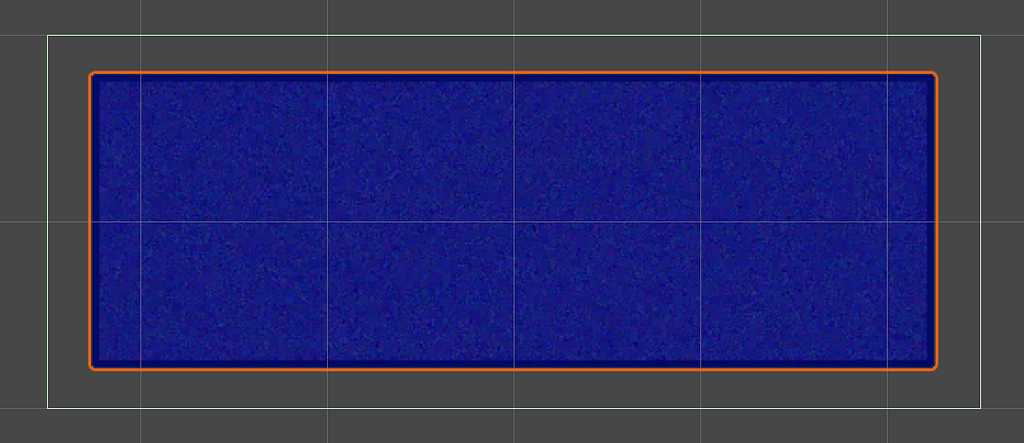
As you can see, my Box Collider (the green line) is too far away from the edges of the brick. This means that the ball will bounce off of the green line, instead of bouncing off the edges of the brick. This will annoy the user and result in a poor experience.
So, let’s adjust the Size of our Box Collider in the inspector panel. You might not need to do this at all, or you may need to adjust yours to a different size than mine — so I will let you figure out your Size values on your own. Here is what mine looks like after making the adjustment:

And here is what my brick looks like after adjusting the values:
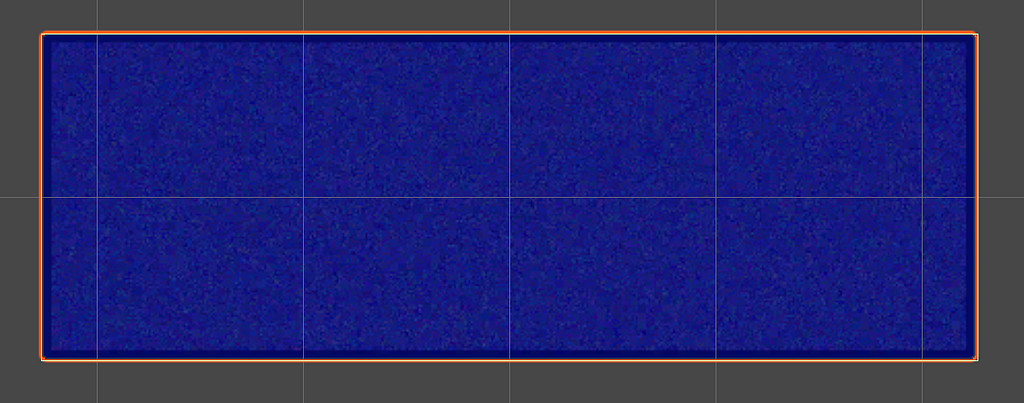
This looks much better. Now the ball will bounce off of the brick like it’s supposed to.
Resizing And Positioning The Brick
As you can see, my brick is currently way too large compared to the rest of the game…
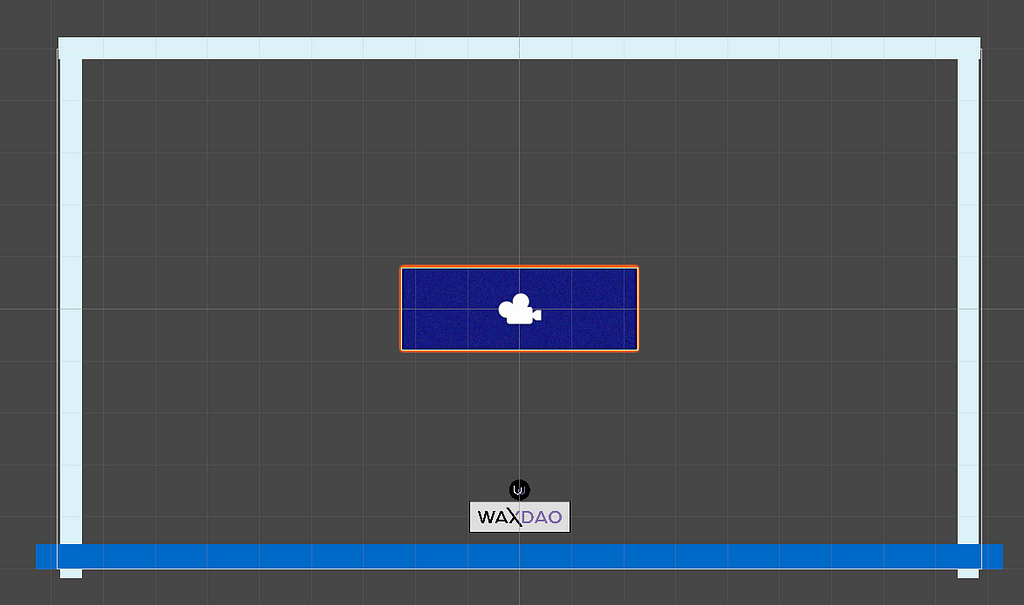
So, I’ll go over to the Inspector panel and adjust the Scale values. Also, I’ll change the positioning of the brick and put it somewhere else.
Here’s what it looks like after the adjustments.
Duplicating The Brick
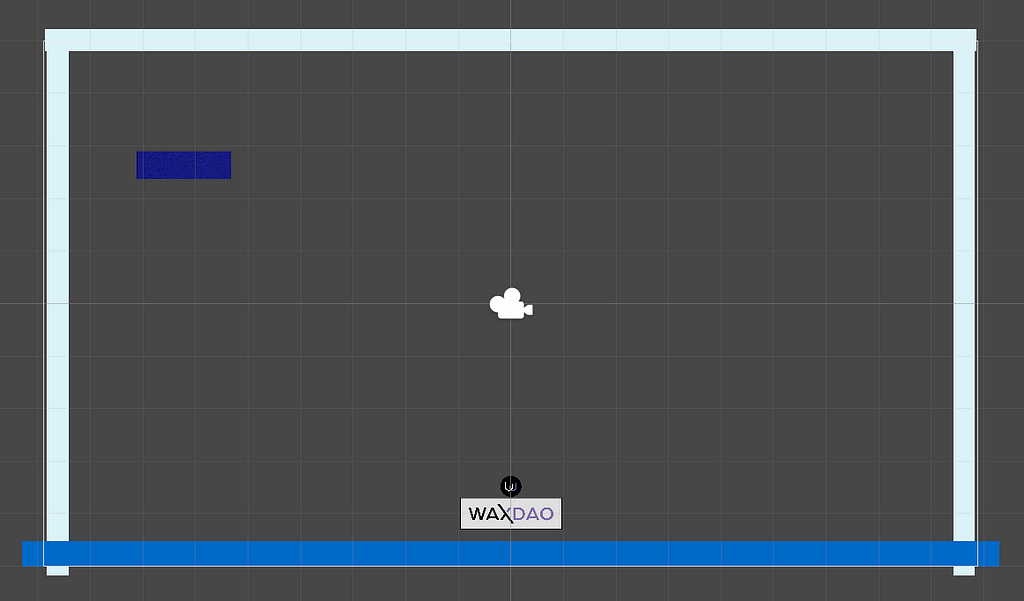
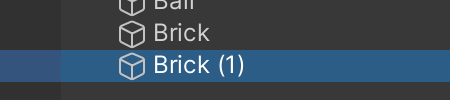
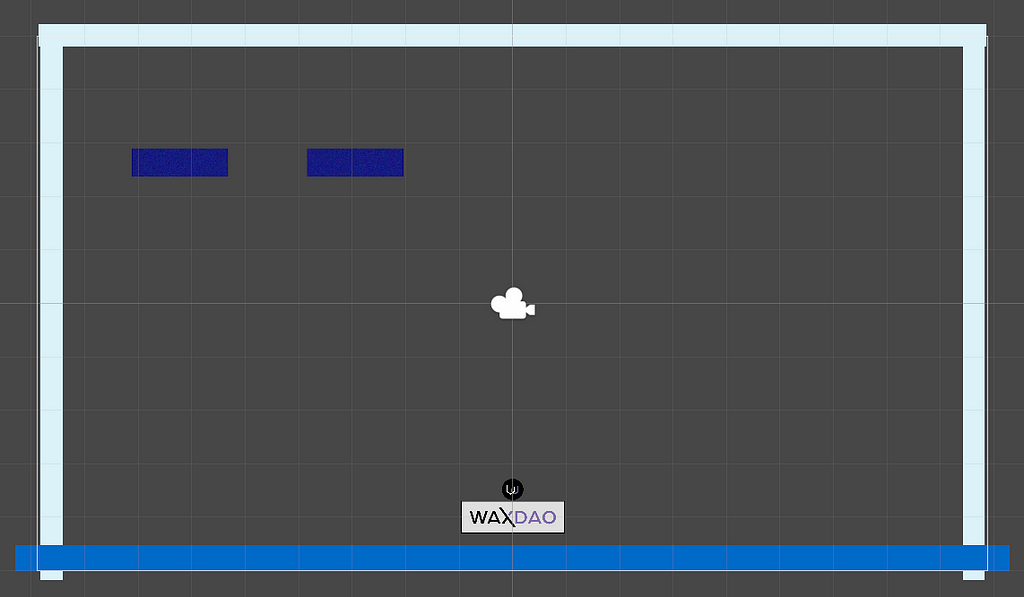
Ok, now we have a brick. But we need a bunch of bricks. So, with your Brick selected in the Hierarchy panel, click CTRL + D (or CMD + D if you’re using a Mac). This should duplicate your brick, and result in this:
Move the position of your new brick, so it’s not sitting in the same place as the first brick.
Now, repeat as many times as necessary until you feel like you have enough bricks. For me, this is just a silly game that I’m making for this tutorial, so I don’t need that many. Here’s what my final result looks like:

Before we go ahead and start adding logic to increment and display the score, let’s just give this a test run and make sure it’s all working as expected.
https://medium.com/media/415ceecd13a7b2749f29b870a431ede1/hrefEverything appears to be working perfectly. The next step is to start tracking the score, so we can show it to the user.
Let’s open up our BallController script, which is attached to our Ball. All we really need to do right now is adjust 1 function. Take this following function:
void OnCollisionEnter2D(Collision2D collision)
{
    if (collision.gameObject.CompareTag("DeadZone"))
    {
        GameManager.Instance.EndGame();
    }
}
And change it to this:
void OnCollisionEnter2D(Collision2D collision)
{
    if (collision.gameObject.CompareTag("DeadZone"))
    {
        GameManager.Instance.EndGame();
    }

    else if (collision.gameObject.CompareTag("Brick"))
    {
        GameManager.Instance.AddScore(1);
    }
}
Now you can see why we added that Brick tag to our brick earlier, before we duplicated it. This allows us to know if our ball hits a brick, and determine whether to add a point to the score or not.
Save this script, and then open up the GameManager script. Again, all we need to do is edit 1 function. Change the AddScore function from this:
public void AddScore(int points)
{
    if (GameStarted && !GameOver)
    {
        Score += points;
    }
}
To this:
public void AddScore(int points)
{
    if (GameStarted && !GameOver)
    {
        Score += points;
        Debug.Log($"Current Score: {Score}");
    }
}
This will log the score into our Unity console every time we add a point to our score. The end goal is to show this score on the screen, but for testing purposes, this allows us to find out pretty quickly if your code works properly.
So save this script, then let’s go ahead and test out the game.
https://medium.com/media/87764fb8c27064a312633b28e81a6c5d/hrefAs you can see, the score is getting logged into the console — everything appears to be working! The next step is to actually display this score on the screen, so the user can see it when they are playing.
Displaying The Score
Let’s create a new Text — TextMeshPro object. Right click in the Hierarchy panel, create a new Text — TextMeshPro object, and name it ScoreText.
This will also create a new Canvas if one doesn’t exist yet. You may notice that your new Canvas (and the Text — TextMeshPro object) are absolutely gigantic for no reason, and way out of the view of your camera.
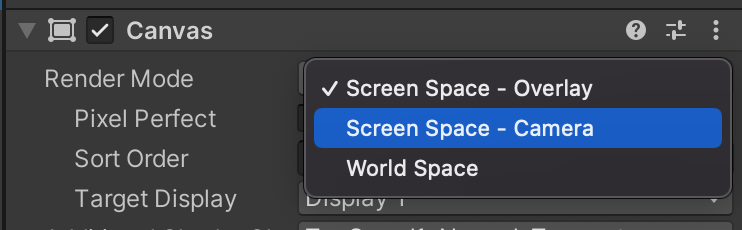
There is an easy fix for this. Click on the Canvas object, then look at the Inspector panel. Under Canvas, you will see an option called Render Mode.
You can change that to Screen Space — Camera.
There’s still one more thing you need to do though.

The Render Camera needs to be assigned still. You have to drag Main Camera from the Hierarchy panel, directly onto this box to assign it. After that, everything should fit properly in the camera view.
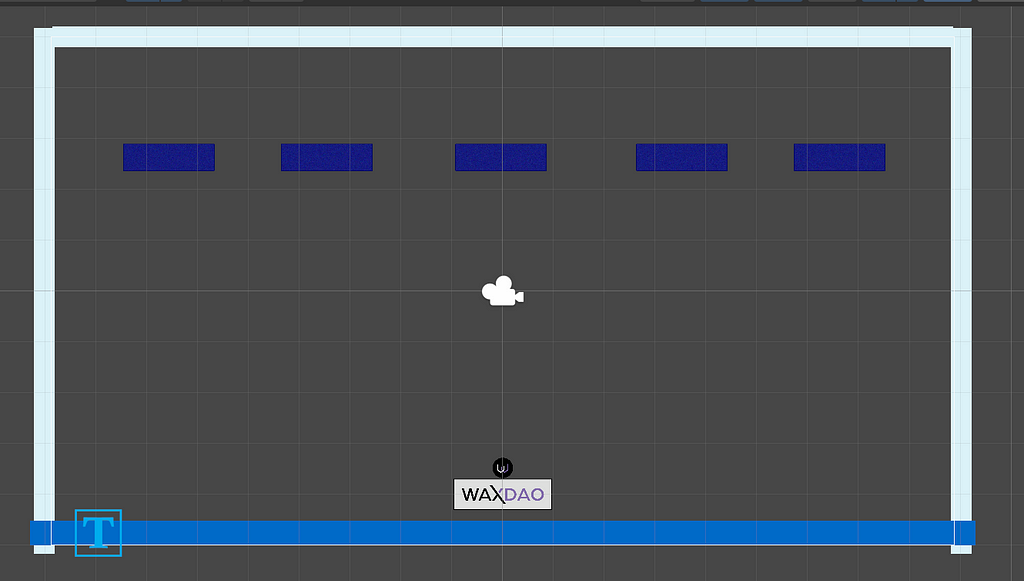
Do you see that big “T” at the bottom left? That is where our text is, even though you can’t see it since my DeadZone is blocking the text. Let’s move this to the top of the screen so you can see it.
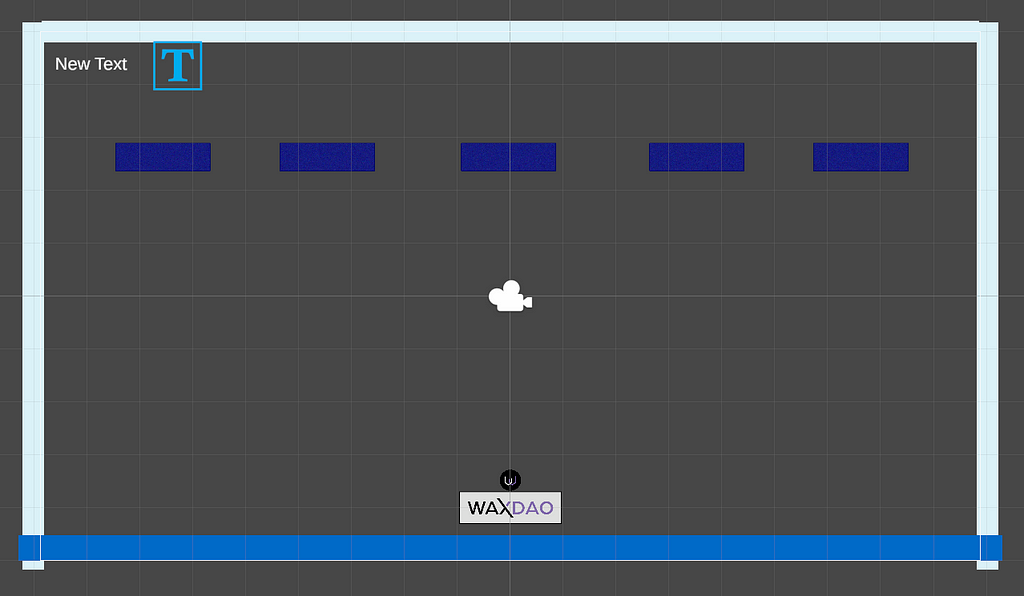
Ok, now we can see our text. Now this may be personal preference — but that giant “T” makes me want to jump off a bridge. If you feel the same way, here’s how you can get that off of your screen.
In the editor, you should see this icon in the toolbar:
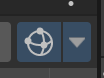
This allows you to edit “Gizmos”, which are the name for these stupid gigantic icons on your screen. If you click on that, you will see a whole list of gizmos. The one you want to edit is TextMeshProUGUI.
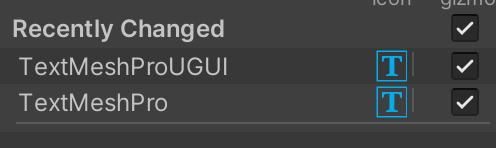
Note: As strange as it might seem — it’s not the checkbox that you have to deselect. It’s the actual T (the blue icon). Once you click that to disable it, you should not see that annoying T on your screen anymore.
Scripting The Text Object
Ok, now it’s time to add some logic to our ScoreText object, so we can show the score on the screen.
You know how to add a script to an object by now… so do it, name the script ScoreTextController, and open it in your text editor.
Paste in the following code.
using System.Collections;
using System.Collections.Generic;
using UnityEngine;
using TMPro;

public class ScoreTextController : MonoBehaviour
{
    TextMeshProUGUI textMesh;
    int score = 0;

    void Start()
    {
        textMesh = GetComponent();
        if (textMesh != null)
        {
            textMesh.text = "Score: 0";
        }
        else
        {
            Debug.LogError("Could not locate text object");
        }
    }

    void Update()
    {
        if(GameManager.Instance.Score != score){
            textMesh.text = "Score: " + GameManager.Instance.Score;
            score = GameManager.Instance.Score;
        }
    }
}
This script will grab the TextMeshProUGUI component when the Start function runs. It will change the text to say “Score: 0”. Then, in the Update function, it will change the text to reflect the current score (which is set in the GameManager script).
The logic in the Update function will only run when the score has changed from its previous value, which prevents wasting resources on setting the text to the same value every single frame.
Save this, and let’s test it out.
https://medium.com/media/e98673201a9606b6a827a74715b05c02/hrefAs you can see, it works as expected!
Outro
In the next article, we will implement the logic for displaying parts of an image as the score increases, until the score reaches a certain point where the full image is displayed. This will be considered “winning the game”, or at least “finishing this level” (in case we want to add more levels later).
If you have any questions, feel free to join my Telegram or Discord. Thanks for reading, and see you in Part 8!
Create Games On WAX Using Unity, Part 7 — Displaying The User’s Score was originally published in waxdao on Medium, where people are continuing the conversation by highlighting and responding to this story.