WAXHISPANO
Create Games On WAX Using Unity, Part 6 — Adding The Ball To Our Breakout Game

Create Games On WAX Using Unity, Part 6 — Adding The Ball To Our Breakout Game
02/26/2024
Intro
In the previous article, we added a paddle and walls to our Game Scene. We also added physics to the paddle and the walls, so that the paddle stays within the camera view and stops when it touches a wall.
Now it’s time to add a ball into the game. In this section, we will cover the following:
- Adding a ball to the game, using a .png image
- Starting the game with the ball sitting on the paddle, then pressing a button to start the game (and start the movement of the ball)
- Ending the game if the ball goes past the paddle into the dead zone
- Possibly more, if we have time
Adding The Ball
First things first, we need to import our ball into our game scene. For mine, I am just going to use the WAXDAO token logo as a ball. Inside the Project > Assets > Images folder, I will right click > Import New Asset and find the image on my computer.
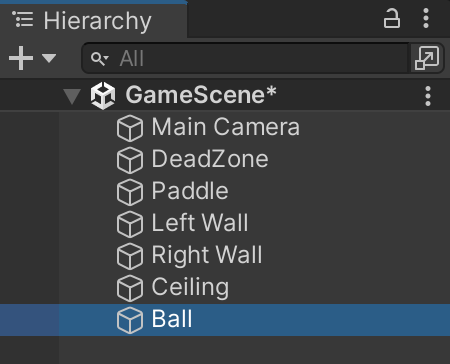
Next, we need to create a new game object out of our image. All we need to do is drag our image from the Images folder, onto the Hierarchy panel. This will automatically create a new GameObject from our image. It’s probably also a good idea to rename the object to Ball, you know, so we know that it’s a ball.
We have a bit of a problem…
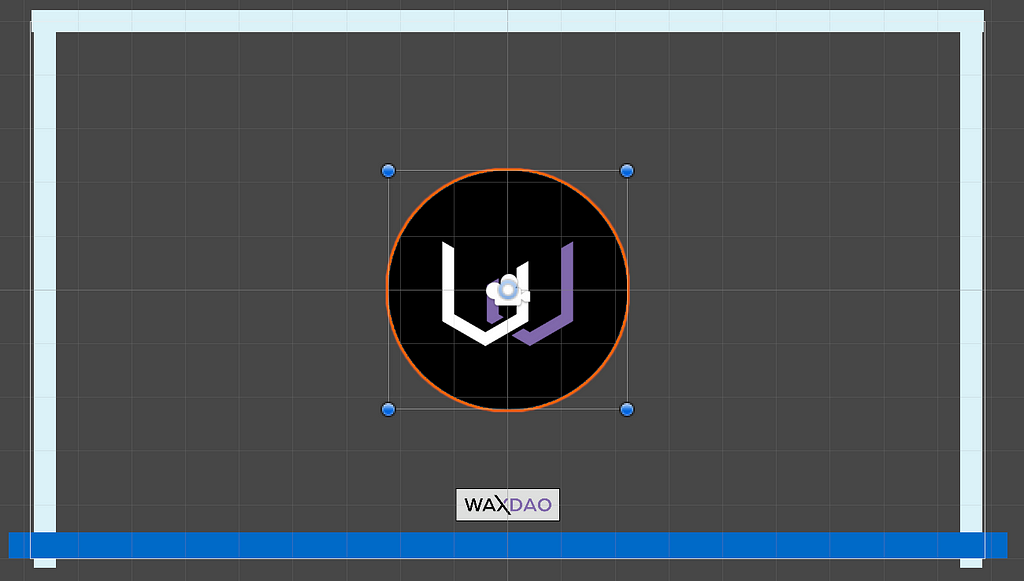
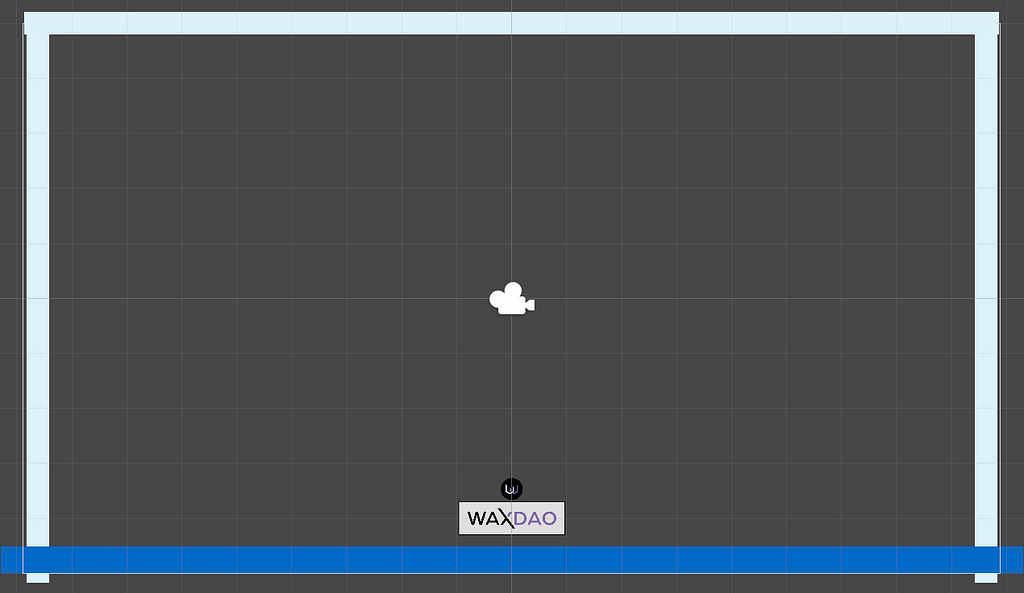
I am going to resize this big ball into a tiny ball (I’m immature). You learned how to resize things in the first lesson, so you know what to do! I am also going to move this near the paddle, just to clean up the layout a bit — however, we will be writing a script to handle the ball position shortly, so manually positioning it probably isn’t all that necessary.
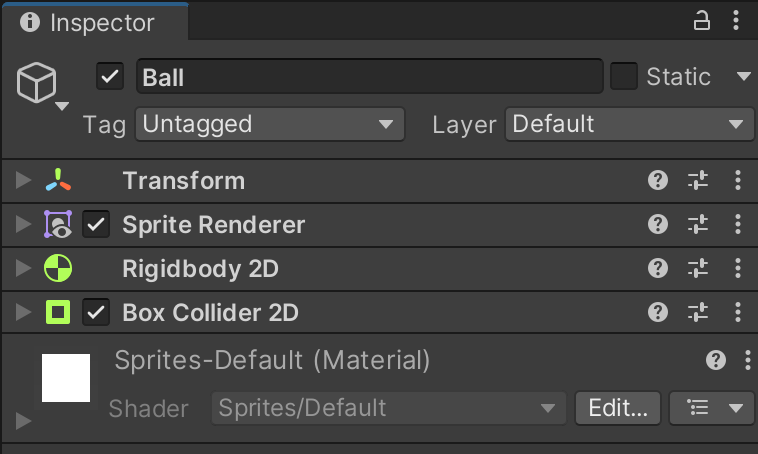
Now we need to add a Box Collider 2D and a Rigidbody2D to our ball. Both of these can be done in the Inspector panel by clicking Add Component, but you know this already from the previous lesson. Our game object should now look like this:
Let’s run a little test, and make sure the ball doesn’t fall through the paddle if we play the game.
https://medium.com/media/2d43cca38291b97b38e50c91bd99455a/hrefOk, so it technically works… but, it looks weird right? The ball is too far away from the paddle, and there is a gap between them. Let’s take a closer look and see what the problem is. I have selected both the ball and the paddle in the Hierarchy panel. This is what the scene looks like with both of them selected:
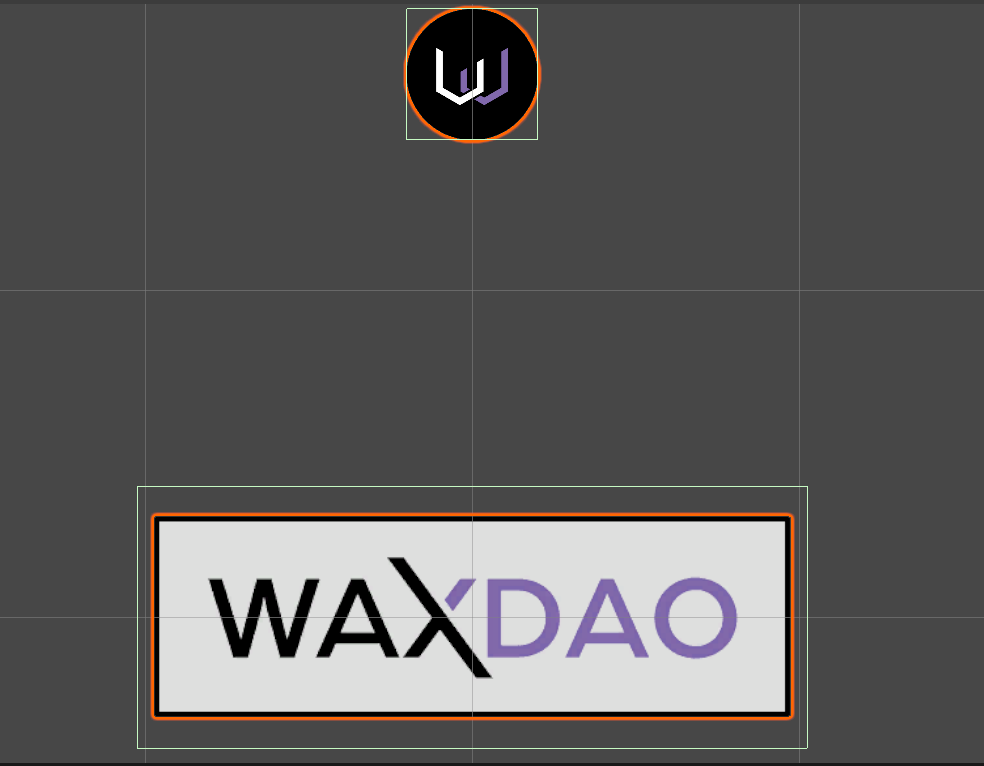
It is very obvious what the issue is here. Everything seems totally fine with the ball! But the paddle has its Box Collider 2D way beyond the boundaries of the image itself. So the green line is actually what the ball is colliding with when it comes to a stop. We need to bring that green line in to the edges of the image.
First, we need to make sure we have only the paddle selected in our Hierarchy panel. Then, we can take a look at the Box Collider 2D properties in our Inspector window.
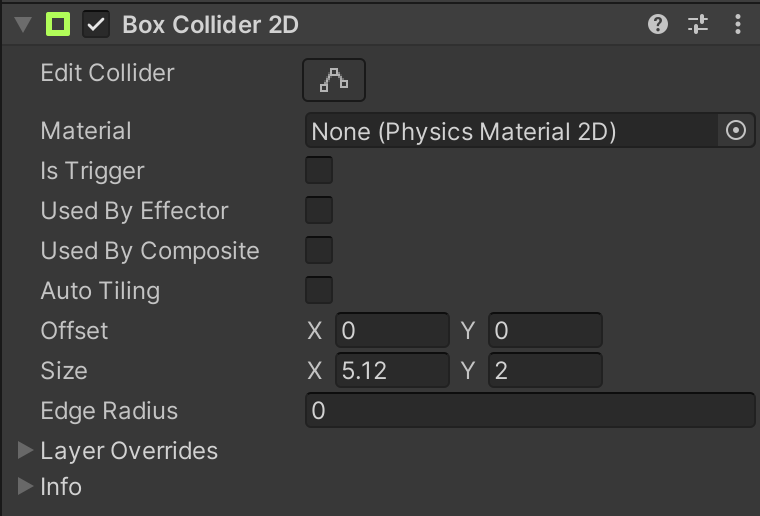
Notice the Size property. Let’s try decreasing the X and Y values and see what happens.
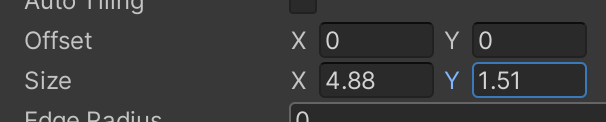
As you can see, I’ve reduced the X to 4.88, and reduced the Y by about 25%. Here is what the boundaries look like now:
Much better! This should be perfect, but let’s give it a test run to make sure.
https://medium.com/media/315c287909f5f0435aa313924a8df5c3/hrefThis looks absolutely perfect. I’m going to move the ball back to where I had it now.
Bounciness And Friction
Before we start writing our script to control the movement of our ball, we need to do some more physics-related stuff.
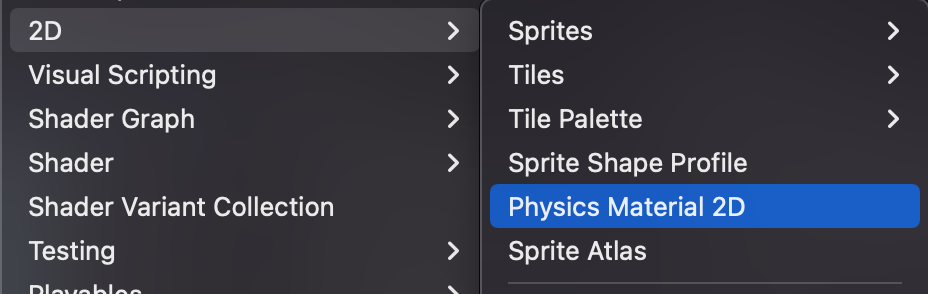
Go to Project > Assets and create a new folder called ObjectBehavior. Go into the ObjectBehavior folder, right click, and select Create > 2D > Physics Material 2D.
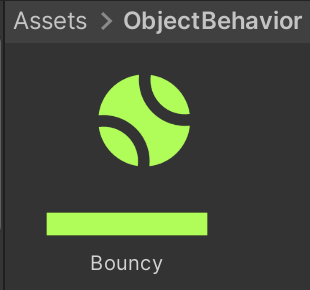
This will create a new Physics Material, which we will rename to Bouncy.
Next, click on your Bouncy material, and go over to the Inspector panel. You want to change the Friction to 0, and Bounciness to 1 (you can adjust these later to suit your own needs, but this is a good start).
Bounciness just means this material will bounce off of things, and/or allow things to bounce off of it.
Friction determines how much something slows down after colliding with another object. We do NOT want our ball slowing down when it hits the walls, so we are setting this to 0.
Assigning Our Bouncy Material
Ok, we created the Bouncy material, but now we need to assign it to the objects we want to use it on.
First, click on your Ball object in the Hierarchy panel. In the Inspector panel, under the Box Collider 2d component, you should see a field that says “Material (None…)”.

Drag your Bouncy material from the ObjectBehavior folder, directly onto the Material field, so it looks like this:
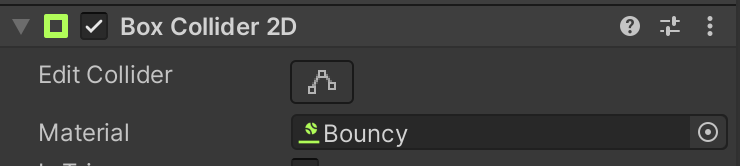
Ok, you assigned the Bouncy material to your Ball. Now, repeat this same process for the left wall, right wall, and ceiling. At least, this is what I personally did — because I didn’t want the walls slowing down my ball, or messing up the angle. Feel free to play around with this though… your game, your choice!
Scripting Our Ball
Let’s create a script to control the movement of our ball! Go to your ball, click Add Component > New Script, and name it BallController. Open up the script in your text editor, and paste in the following code:
using System.Collections;
using System.Collections.Generic;
using UnityEngine;

public class BallController : MonoBehaviour
{
    Rigidbody2D _ballRigidbody;
    float _ballSpeed = 7f;
    Vector2 _startingPosition = new(0f, -3.48f);

    void Start()
    {
        _ballRigidbody = GetComponent();
        _ballRigidbody.position = _startingPosition;
    }

    void Update()
    {
        if (!GameManager.Instance.GameStarted && Input.GetKeyDown(KeyCode.Space))
        {
            GameManager.Instance.StartGame();
        }
    }

    public void StartBallMovement()
    {
        float xDirection = Random.Range(-1f, 1f);

        while (Mathf.Abs(xDirection) < 0.5f)
        {
            xDirection = Random.Range(-1f, 1f);
        }

        float yDirection = 1f;
        Vector2 direction = new Vector2(xDirection, yDirection).normalized;

        _ballRigidbody.velocity = direction * _ballSpeed;
    }

    void OnCollisionEnter2D(Collision2D collision)
    {
        if (collision.gameObject.CompareTag("DeadZone"))
        {
            GameManager.Instance.EndGame();
        }
    }

    public void ResetPosition(){
        _ballRigidbody.position = _startingPosition;
        _ballRigidbody.velocity = Vector2.zero;
    }
}
This code does the following:
- Initially, set the ball position to its starting location.
- Wait for us to press the Space Bar before starting the game.
- Once the space bar is pressed, move the ball upward, and in a semi-random horizontal direction.
- Set the speed of our ball to 7. You can adjust this to make it slower/faster.
- If the ball collides with the DeadZone, restart the game
Save this script, and then let’s go create another one.
Right click in your Hierarchy panel and select “Create Empty”. Name the new object GameManager.
Next, add a new script to your GameManager object. Name the script GameManager as well. Our GameManager script will manage certain aspects of the game (such as the score, whether the game has started/ended, etc). Open up that script and paste in the following code:
using UnityEngine;

public class GameManager : MonoBehaviour
{
    public static GameManager Instance { get; private set; }

    public bool GameStarted { get; private set; }
    public bool GameOver { get; private set; }
    public int Score { get; private set; }

    void Awake()
    {
        if (Instance == null)
        {
            Instance = this;
        }
        else
        {
            Destroy(gameObject);
        }
    }

    public void StartGame()
    {
        GameStarted = true;
        GameOver = false;
        Score = 0;

        BallController ballController = FindObjectOfType();
        if (ballController != null)
        {
            ballController.StartBallMovement();
        }
    }

    public void EndGame()
    {
        GameOver = true;
        GameStarted = false;

        PaddleController paddleController = FindObjectOfType();
        if (paddleController != null)
        {
            paddleController.ResetPosition();
        }

        BallController ballController = FindObjectOfType();
        if (ballController != null)
        {
            ballController.ResetPosition();
        }
    }

    public void AddScore(int points)
    {
        if (GameStarted && !GameOver)
        {
            Score += points;
        }
    }
}
Our GameManager script allows us to access and call certain properties/functions related to the game — such as calling a function to start the game, end the game, etc. It will also handle moving the paddle and ball back to their starting locations when the game ends.
Save this script, and then let’s take the game for a test spin.
https://medium.com/media/82742e56175696b498231ac1c1cd429d/hrefLooks great! There are a couple imperfections with the movement of the ball, but we can worry about those small details later. The important part is that we get everything working for now.
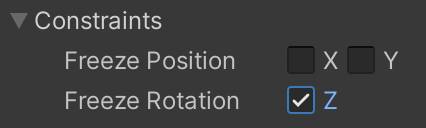
One last thing I did decide to do, however, was freeze the Rotation of my ball — because it was causing weird issues, and I don’t need it to rotate.
Outro
That is it for today’s lesson. In the next article, we will add some bricks into the game — increase our score when we hit the bricks, and display our score on the screen throughout the game.
If you have any questions or just want to chat, join my Telegram or Discord. Also, subscribe to the YouTube channel in the demo videos above so you can follow along as I turn these articles into videos soon!
See you next time for part 7!
Create Games On WAX Using Unity, Part 6 — Adding The Ball To Our Breakout Game was originally published in waxdao on Medium, where people are continuing the conversation by highlighting and responding to this story.