WAXHISPANO
Create Games On WAX Using Unity, Part 3 — Checking If A User Holds An NFT

Create Games On WAX Using Unity, Part 3 — Switching Scenes And Showing A Welcome Message
02/23/2024
Welcome to part 3 of my tutorial for how to build Unity games on WAX Blockchain. If you haven’t read part 1 and part 2, I recommend giving them a read before proceeding.
Intro
In part 2, we got a user logged into the game — but then did nothing else. Today, we will do the following:
- Upon successful login, switch to a new scene
- In the new scene, show a “Welcome {username}” message
In the upcoming lessons after this one (part 4 and 5, and maybe more?), we will cover the following:
- Create a button that a user can press to scan their wallet for a specific NFT that we define
- If they do have the NFT, we will show them a message that says “You have a membership pass!”, and a new button that says “Start Game”, which they can press to enter the next scene.
- If they don’t have the NFT, we will show them a message that says “You don’t hold a membership pass”, and we will add a button they can click that takes them to a “Market” page.
- The market page will check AtomicMarket for listings related to the membership pass they need. It will also check the user’s token balances, and allow them to buy a membership pass (NFT).
Creating A New Scene
Before we can switch to a new scene, we have to actually create one. Down in the Project window, we need to navigate to the Scenes folder. Then, right-click and select Create > Scene.

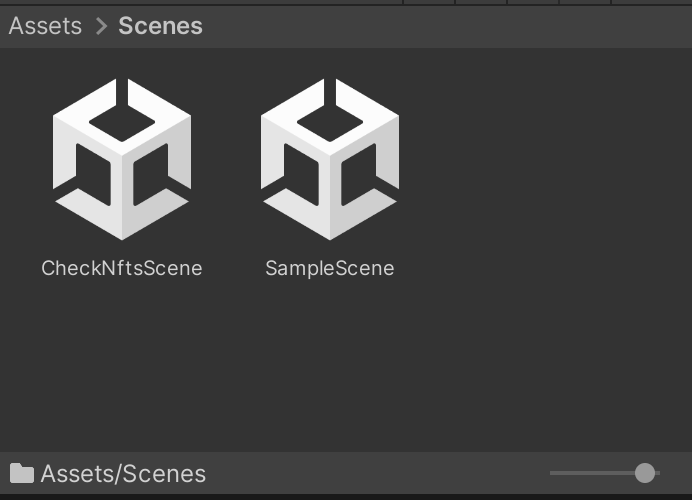
After you add the scene, you can rename it — I chose CheckNftsScene as the name. If you did everything right, your Scenes folder should look like this now:
I am also going to go ahead and rename the default SampleScene to LoginScene, since it won’t be very clear what that scene does as the project grows. After doing this, we still need to add our new CheckNftsScene to the project’s build settings.
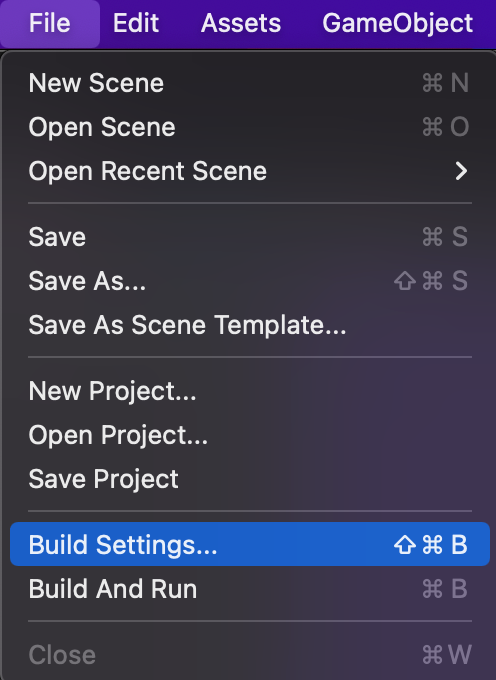
In Unity’s navigation menu, go to File > Build Settings.
You’ll notice that your new CheckNftsScene is likely not in the build settings yet. We can fix that by dragging our new scene from the Project window, directly into the build settings panel.
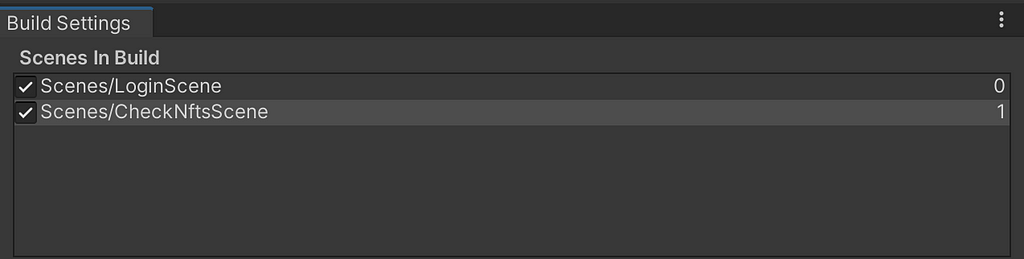
Note: It is very important that you add scenes in the correct order. See the numbers 0 and 1 on the right? That is the index of each scene. By default, index 0 is loaded first when the game is started.
We want our LoginScene to be the first one that gets loaded, so make sure it has index 0. You can drag scenes around to rearrange the order.
Managing Scenes
Now that we have a second scene added, we need to set up some logic for actually switching between scenes. In theory, we could just add this logic directly into the script where we need to switch to the second scene.
But, since this game is going to be more complex — and have multiple scenarios where it needs to switch between scenes, it is much better if we create a GlobalSceneManager script, so we don’t need to keep redefining the same functions.
Creating The Script
If you’ve read the first 2 lessons, you should know how to create a new script by now. In the Hierarchy panel, right click and select “Create Empty”.
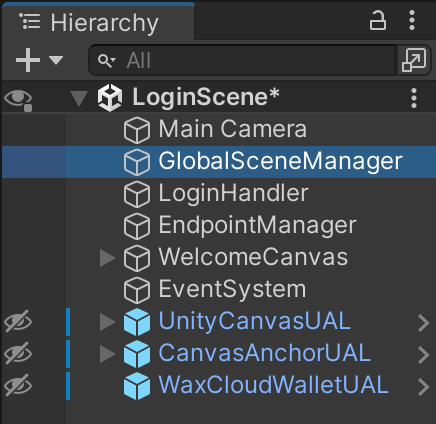
This will create a new Game Object. We will rename this Game Object to GlobalSceneManager. Your Hierarchy panel should now look something like this:
Next, we need to attach a script to our new game object. In the Inspector panel, click Add Component > New Script, and name it GlobalSceneManager. Open up that script in Visual Studio Code (which you know how to do, because surely you read the previous lessons), and paste in the following code:
using UnityEngine;
using UnityEngine.SceneManagement;

public class GlobalSceneManager : MonoBehaviour
{
    public static GlobalSceneManager Instance { get; private set; }

    private void Awake()
    {
        if (Instance == null)
        {
            Instance = this;
            DontDestroyOnLoad(gameObject);
        }
        else
        {
            Destroy(gameObject);
        }
    }

    public void SwitchScene(string sceneName)
    {
        SceneManager.LoadScene(sceneName);
    }
}
You may notice some similarities between this code, and our global script from lesson 2. All it really is, is a public function that switches scenes. It takes in a string as an argument, so we can use it for any scene we want. And it also uses a Singleton pattern, which makes sure that we don’t end up with duplicate SceneManagers, resulting in different parts of our game not talking to the same manager.
Anyway, save this script and head back to Unity.
Calling The SwitchScene Function
Ok, we’ve created the global script now, but we still need to actually call this SwitchScene function after a user successfully logs in.
To do that, all we need to do is open up our HandleLogin script that we created in lesson 1. Select LoginHandler in the Hierarchy panel, then open up your HandleLogin script in the text editor.
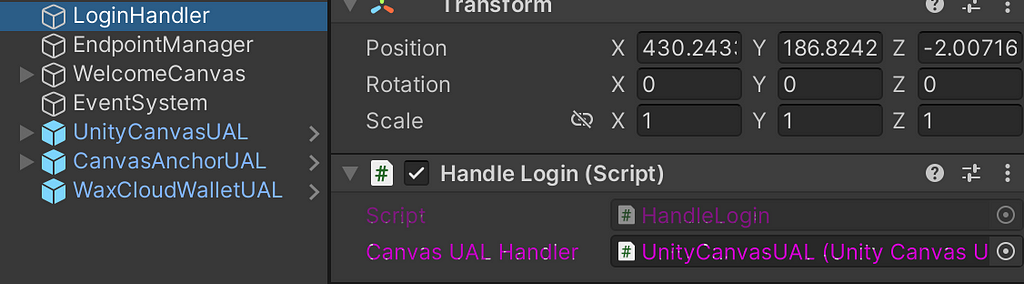
All we need to do now is edit the following function:
    private void UserLogin(User user)
    {
        loggedInUser = user;
        Debug.Log($"User {user.GetAccountName().Result} has logged in.");
        IsLoggedIn = true;

        //Add the next line to your script to switch scenes
        GlobalSceneManager.Instance.SwitchScene("CheckNftsScene");
    }
Notice we’ve added 1 new line to the function. This calls the SwitchScene function that we defined in the GlobalSceneManager, and it passes the sceneName to it (in this case, CheckNftsScene).
Save this script, head back to Unity, and give your game a test run. If all goes well, then after successfully logging in, your game should switch scenes.
https://medium.com/media/d5b23f1d6020b26b9dc41f17d55dd17c/hrefIt worked! It might be hard to tell since the CheckNftsScene has no content added to it yet — but if you look at the Hierarchy panel, you will notice that it switches once I log in.
Moving On
I’m realizing now that if we want to do anything blockchain related in this game, it might be a good idea if we actually know the name of the user who is logged in, LOL.
So, let’s create one more script in our LoginScene. Right click on the Hierarchy panel, “Create Empty”, and name it GlobalSessionManager. Then add a New Script component to it, and name that script GlobalSessionManager as well. Right click the script, and open it in your text editor. Paste in the following code:
using UnityEngine;
using UniversalAuthenticatorLibrary;

public class GlobalSessionManager : MonoBehaviour
{
    public static GlobalSessionManager Instance { get; private set; }

    public User LoggedInUser { get; private set; }
    public bool IsLoggedIn => LoggedInUser != null;

    private void Awake()
    {
        if (Instance == null)
        {
            Instance = this;
            DontDestroyOnLoad(gameObject);
        }
        else
        {
            Destroy(gameObject);
        }
    }

    public void SetLoggedInUser(User user)
    {
        LoggedInUser = user;
    }
}
This script keeps track of the LoggedInUser, and makes it accessible globally. Save the script, and head back to Unity.
Next, open up your HandleLogin script (the one attached to your LoginHandler game object). We need to edit the following function inside that script:
    private void UserLogin(User user)
    {
        loggedInUser = user;
        Debug.Log($"User {user.GetAccountName().Result} has logged in.");
        IsLoggedIn = true;

        //Add this line to store the user details globally
        GlobalSessionManager.Instance.SetLoggedInUser(user);

        GlobalSceneManager.Instance.SwitchScene("CheckNftsScene");
    }
Notice that we added a new line to set the global LoggedInUser details once a successful login has been achieved.
CheckNftsScene
If everything worked out properly with the GlobalSessionManager, then we should be able to access those user details in the CheckNftsScene. Let’s test this out.
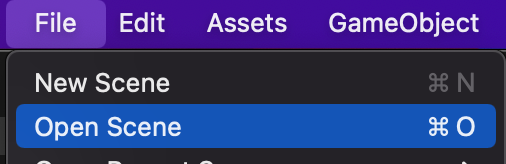
We can do this with a very basic script. First, we need to switch to our CheckNftsScene in Unity. We can do this by selecting File > Open Scene from the toolbar, then navigating to our CheckNftsScene.
You should now see a blank canvas, ready for you to add Game Objects to it. But before we go ahead and do any of that, there’s something important we need to do.
I want you to click the play button in Unity while you have your CheckNftsScene open. Notice how it just plays the current scene? Well, what good does that do us? We want to know how the full game actually works, starting from the beginning.
It’s very annoying to have to keep opening and closing and opening different scenes every single time you want to click the play button for testing. So, after about 2 hours of smashing my mother f**ing head against a mother f**ing wall, I got a script that actually does what we need!
The script does 2 important things:
- Every time you click the play button, it starts your experience from the first scene in your game, not the current scene you have opened.
- Just as important — after you finish testing (i.e. when you click the play button again to stop the game), the editor will automatically go back to the scene you were editing, which saves you from smashing your f**ing head into a wall like I’ve been doing all morning.
Setting Up The Script
In order to set this up, you need to go to the Project panel (at the bottom of your screen by default). Inside the Assets folder, right-click > Create > Folder, and name the folder Editor.
It must be named Editor, and it must be inside the Assets folder — doing either of these wrong will break your script.
Next, go into the Editorfolder you just created, and right-click > Create > C# Script. Name the script PlayFromFirstScene and then open it in your text editor. Paste the following code into it:
#if UNITY_EDITOR
using UnityEditor;
using UnityEditor.SceneManagement;

[InitializeOnLoad]
public static class PlayFromFirstScene
{
    // If your first scene has a different path or directory, you have to change StartScenePath
    private const string StartScenePath = "Assets/Scenes/LoginScene.unity";

    static PlayFromFirstScene()
    {
        EditorApplication.playModeStateChanged += OnPlayModeChanged;
    }

    private static void OnPlayModeChanged(PlayModeStateChange state)
    {
        switch (state)
        {
            case PlayModeStateChange.ExitingEditMode:
                if (!EditorSceneManager.SaveCurrentModifiedScenesIfUserWantsTo())
                {
                    EditorApplication.isPlaying = false;
                    return;
                }

                string currentScenePath = EditorSceneManager.GetActiveScene().path;
                EditorPrefs.SetString("LastEditedScenePath", currentScenePath);

                if (currentScenePath != StartScenePath)
                {
                    EditorSceneManager.OpenScene(StartScenePath);
                }
                break;

            case PlayModeStateChange.EnteredEditMode:
                string lastEditedScenePath = EditorPrefs.GetString("LastEditedScenePath");
                if (!string.IsNullOrEmpty(lastEditedScenePath) && lastEditedScenePath != EditorSceneManager.GetActiveScene().path)
                {
                    EditorSceneManager.OpenScene(lastEditedScenePath);
                }
                break;
        }
    }
}
#endif
What this script does change your Editor’s preferences (at least within this project) to do the following:
- Take note of the current scene before doing anything
- Very important — if you have any unsaved changes in your scene, it will prompt you to save them before proceeding (otherwise you will lose your unsaved changes, ASK ME HOW I KNOW)
- Start playing from the first scene (you have to define the path yourself, if yours is not located at Assets/Scenes/LoginScene.unity then you need to change that variable)
- Upon returning to the editor, it will open the scene you were working on previously (unless it breaks, because Unity is fun like that)
Let’s give this a test run quick to make sure it works.
https://medium.com/media/ad59b7ee8b034a9bbac4d3cdb84ba7e8/hrefHooray!
Welcome, {Username}
Now we can finally check and see if we have access to the global session that we created earlier, where we stored the User data after they logged in.
Let’s try and show them a message that says “Welcome, {Username}”.
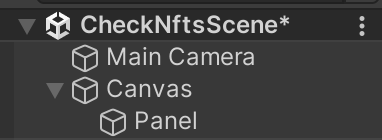
In order to do this, we will create a new game object in our CheckNftsScene. Right-click in the Inspector panel, and click UI > Panel. This will create a new parent Canvas if one doesn’t exist yet. Your scene should look like this now:
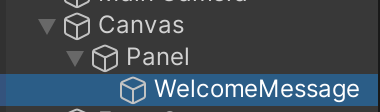
Next, right click on Panel and click UI > Text — TextMeshPro. This will create a new Text object. I renamed mine to WelcomeMessage.
Next, add a New Script component to your WelcomeMessage object (you know how to do this by now!). Name that script ShowWelcomeMessage, and open it up in your text editor.
Paste the following code into the script, and save it:
using UnityEngine;
using TMPro;

public class ShowWelcomeMessage : MonoBehaviour
{
    public TextMeshProUGUI textComponent;

    void Start()
    {
        if (GlobalSessionManager.Instance.LoggedInUser != null)
        {
            textComponent.text = $"Welcome, {GlobalSessionManager.Instance.LoggedInUser.GetAccountName().Result}";
        }
        else
        {
            textComponent.text = "Missing User details, you screwed something up";
        }
    }
}
Now when you go back to the Inspector panel in Unity (with WelcomeMessage still selected), you should see a new field called Text Component.
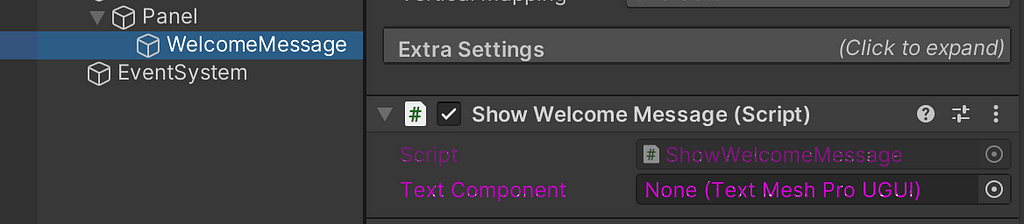
You now need to specify a game object there — in other words, drag the WelcomeMessage from the Inspector panel directly onto that Text Component window. The text inside of it should change from None to WelcomeMessage.
Before we test this out, let’s adjust the styling of our WelcomeMessage object (so we can actually see it!)
I’m just going to make mine wider, taller, with bigger text, and center everything. You can do whatever you like with yours — you know how! Just adjust the properties in the Inspector panel.
Let’s test it!
https://medium.com/media/1b0f760ba1dd378c7293cc91cc41798e/hrefLFG!! I was planning on getting further into the tutorial in this lesson — but we’re already at about 2,200 words here. I think I will end this one here, and start working on part 4!
Thanks to all of you who are following along, if you have any questions or want to share your progress — please come join my Telegram or Discord, and make sure to subscribe to the YouTube channel above so you don’t miss the Unity videos when I start releasing them.
See you next time for part 4!
Create Games On WAX Using Unity, Part 3 — Checking If A User Holds An NFT was originally published in waxdao on Medium, where people are continuing the conversation by highlighting and responding to this story.